 two year trip
As we mentioned before we set off in our packing dry-run and what do you pack for a two year trip posts, there’s plenty written about what to take on this kind of extended world travel and why to take it. Once you’ve read your fill of those posts and made your kit decisions, here’s a post on how to pack that kit for epic adventures!
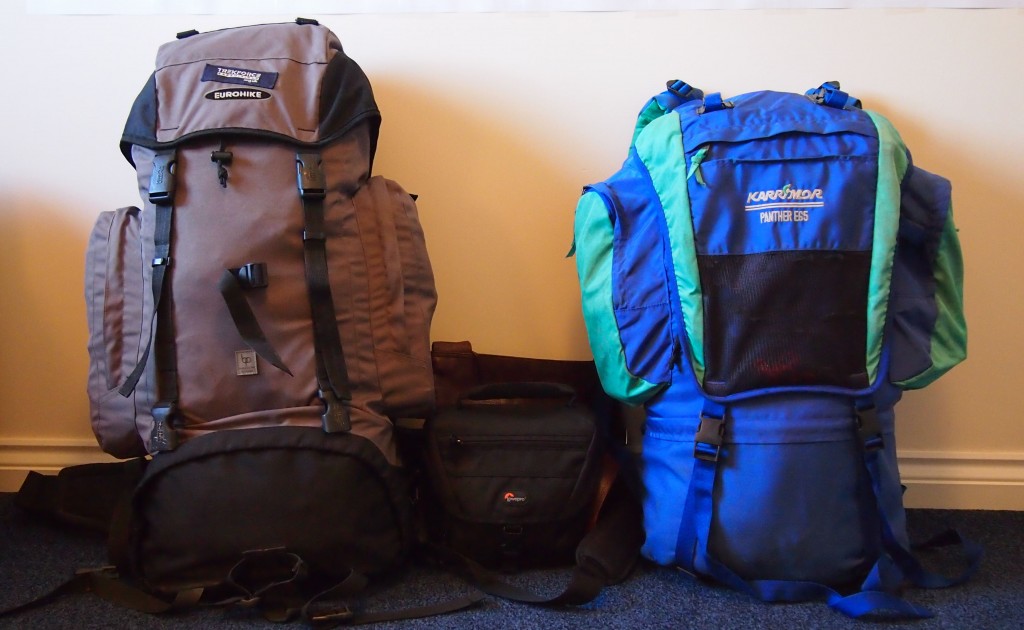
Our large rucksacks with space to spare from our packing dry run about 4 months before we set off
We carried two rucksacks each – a small one for valuables and day trips, and a large one for everything else. The smaller rucksacks are great for carrying shopping when we visited markets, and for overnight trips like when we spent a few days in Chiang Rai from our base in Chiang Mai, Thailand, or as an overnight bag when we slept on the caravan sofa bed my brother and family hired in Amsterdam.
First, some general tips on packing rucksacks:
- Put everything in separate carrier bags – this is to make the contents waterproof. They want to be no more than ¾ full so the top of the carrier bag can be rolled or folded over. If it’s electrical: cables, batteries, camera memory cards, or made of paper (books, leaflets or entrance tickets) use two – they’re light and take up no extra space.
- Put the heavier stuff at the bottom – this will make it easier to lift, easier to carry, and its better for the spine too.
- Have a place for everything – it might take a few un-packs and re-packs starting out, but 3 months in we had our systems down to a fine art. The benefits are not just being able to quickly find stuff when we needed it, but we knew we had everything before we left because we got used to the order everything had to be packed in!
How to pack a rucksack
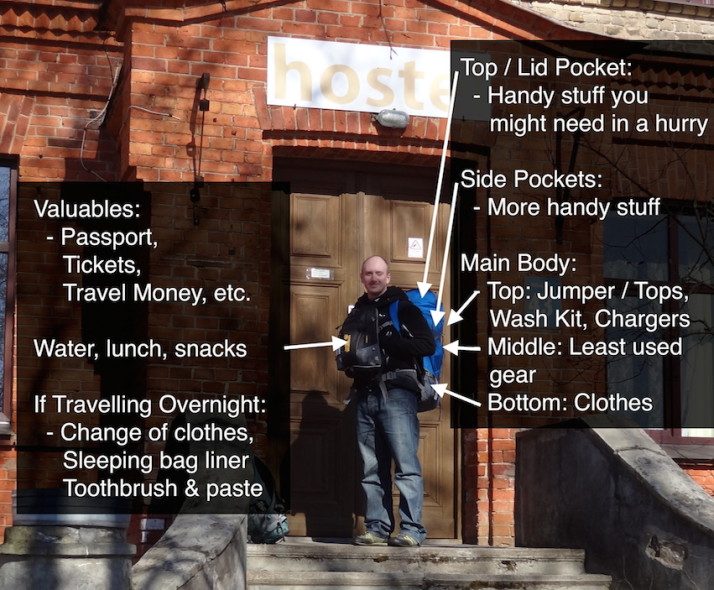
Basic rucksack packing guide. The photo was taken outside the Hostel Hospital in Sabile, Latvia near the start of our trip
Top Pocket: Handy stuff we might need in a hurry: raincoat, hat, scarf, gloves, toilet roll
Side Pockets: More space for handy stuff! We’d typically put things like mugs, forks and spoons, suncream and mosquito repellant and padlock and chain-lock to deter opportunist thieves in the side pockets.
Starting at the bottom, here’s how we’d pack an empty rucksack..
Bottom: Heavy, bulky stuff at the bottom and towards the back (i.e. closest to the spine when it’s worn): Spare shoes, flip-flops, clothes in separate bags. I bought dry sacks, but carrier bags will do just fine. One bag for underwear, one for trousers, bottoms and swimwear, another for t-shirts and tops, and don’t forget a bag or two for dirty clothes or laundry – I try to find a colourful bag for laundry so it’s easy to spot.
Middle: This is the area hardest to reach as most rucksacks have openings at top and bottom. Here we put things we think we won’t need while we’re moving between places, such as souvenirs or books we’re not currently reading. This is also the place for toiletries. It’s worth having a wash bag (yes, even for the guys!) as it’s so much easier to carry toothbrushes, toothpaste, shower gel, shaving gear and deodorant to shared shower rooms down the hall from hostel rooms if it’s all in one bag. I took a medium-sized LifeVenture washbag which was perfect, but a carrier bag worked just as well on occasion.
Top: Anything we might need first when we arrive at our destination: Charging cables, any food provisions we had left over such as bags of pasta, tea & coffee, stock cubes and seasonings, sweeties, etc.
Side note.. on the pros and cons of rucksack liners:
Julie used a big waterproof rucksack liner, and on the whole would have preferred separate smaller bags for the single reason that invariably the thing you need is at the bottom which means unpacking your entire bag. That said, on the one occasion of our trip where our bags were completely soaked, everything of Julie’s stayed dry and our guidebook, which was in my rucksack but not in a plastic bag, took 4 days to dry out properly!
Given our experiences, we’d avoid rucksack liners in favour of carrier bags and smaller dry sacks because of the convenience. It’s a pain having to completely unpack when in dorms or we’re only staying somewhere for a few nights.
Day sack: On the move..
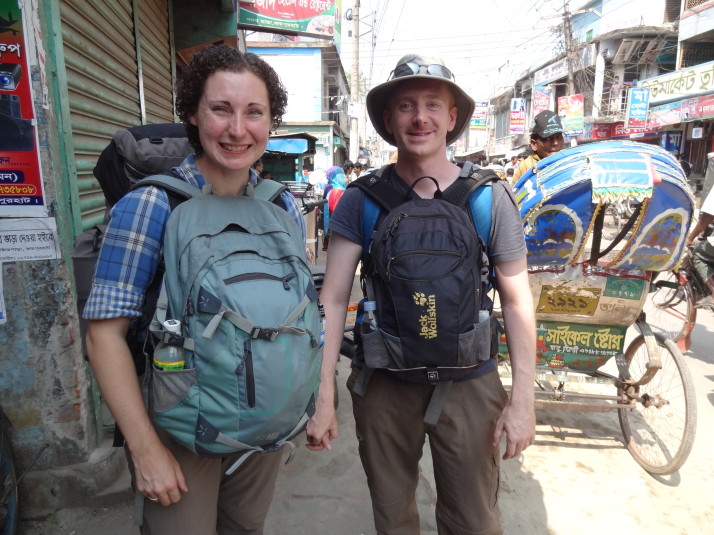
1 year in. 17th March 2014, Joypurhat, Bangladesh – waiting for a bus to Paharpur (photo credit: Roman, a very kind student we met on the train)
When we were moving we’d have a quick think about what we were likely to need and pack that in our smaller rucksack, such as our sleeping bag liners, toothbrush and toothpaste and earplugs if we were on an overnight train. We’d always keep the most important things in our smaller day sacks as they’re much easier to keep with us or close by, and they’re easier to secure with a padlock.
A document wallet is the best place to keep passports, pre-purchased travel tickets, copies of travel insurance, spare SD-cards for digital cameras, emergency cash (in USD), and driving licences. Together with a document wallet each, we’d also carry our sunglasses, digital cameras (and spare camera lenses), iPads and my laptop in our day sacks.
Day sack: Out and about..
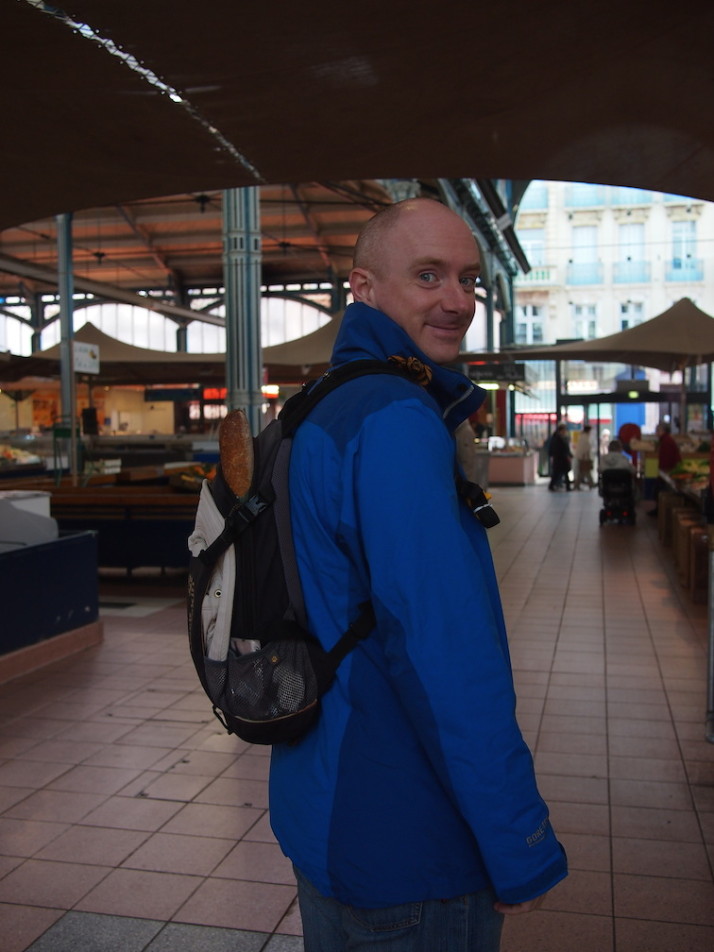
The full french experience – carrying a fresh baguette through the markets of Dijon, France
If we were staying in shared accommodation we’d put all of the important stuff in Julie’s larger day-sack and padlock it, then put it in a locker or leave it with the reception in their luggage room. My smaller day sack was perfect for carrying the stuff we needed while we were out sightseeing or heading to the markets.
If you have any packing tips for long-term travel, please share them in the comments!