Author Archives: Andrew

Hiking Pico Turquino and the Comandancia de la Plata, Cuba

Day 1 – Bayamo to Camp Joaquin

Starting at 7am in Bayamo, we arrived by taxi in Santo Domingo at the foot of the Sierra Maestra mountains and the entrance to Turquino National Park at 8:30am.

There was a little waiting around until the 4WDs had ferried various groups to the starting point and then it was our turn. The low-ratio gears in the people carriers made short work of the steepest roads in Cuba (some gradients were up to 45%!), even with 9 of us, everyone’s 2-days worth of luggage, a guide and a driver onboard!
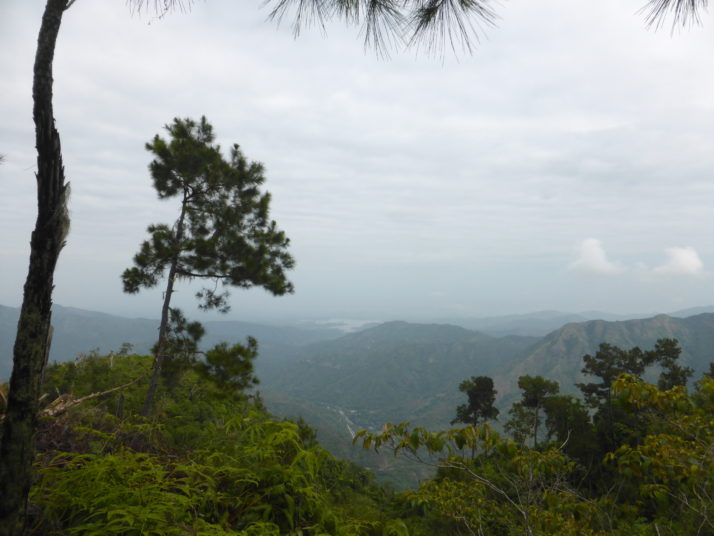
The view of the Santo Domingo valley from the Pico Turquino trail

The view of the Santo Domingo valley from the Pico Turquino trail

The starting point, 950m above sea level, is a concrete plateau or turning circle where a signpost points right for the Comandancia de la Plata, and left to Pico Turquino. From here it’s a 13 km hike where we gain just over 1,000m to reach the summit of Pico Turquino, the highest point in Cuba!

Full of energy, spirit and new faces to get know, we set off apace down the wide and easy-going track, which soon narrowed to near single-file well-maintained forested trail.
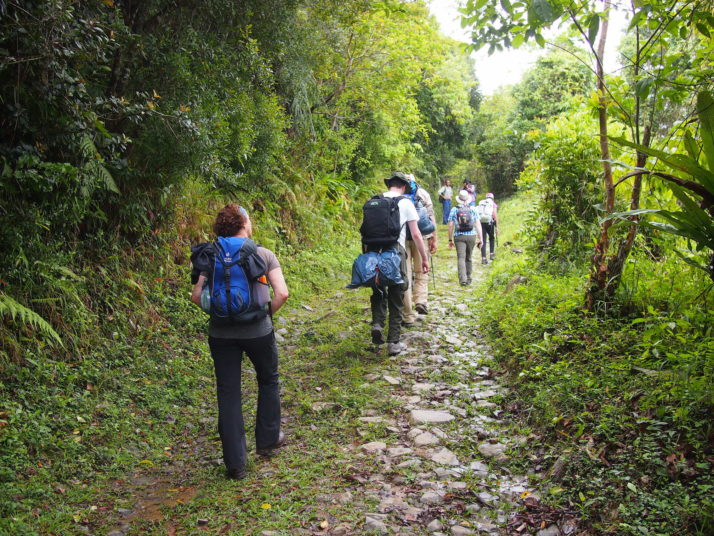
Our group starting the hike to Pico Turquino

Our group starting the hike to Pico Turquino

We’d hoped to see plenty of wildlife and we weren’t disappointed: We saw woodpeckers, Tocororos (the national bird of Cuba because its plumage is the colours of the Cuban flag: white, blue and red), a cute little green and white fluff-ball of a bird called the Cuban Tody Flycatcher, and even hummingbirds doing fly-bys right past our heads!

A Northern Flicker Woodpecker and the cute little Cuban Tody Flycatcher

A Northern Flicker Woodpecker and the cute little Cuban Tody Flycatcher

Our guide Raul was very good at stopping to point out the different flora and fauna, and at taking the time to explain a little more about them. He had a smartphone with him, and when he stopped to take a photo with it I knew it must have been for something good and close by; I took a couple of steps back to join him and saw, about 4 metres away, another Tody Flycatcher shouting at the top of his little voice!

Also in our group was a French couple and the guy was just as knowledgeable about the birds as Raul, it turned out he writes books about them!
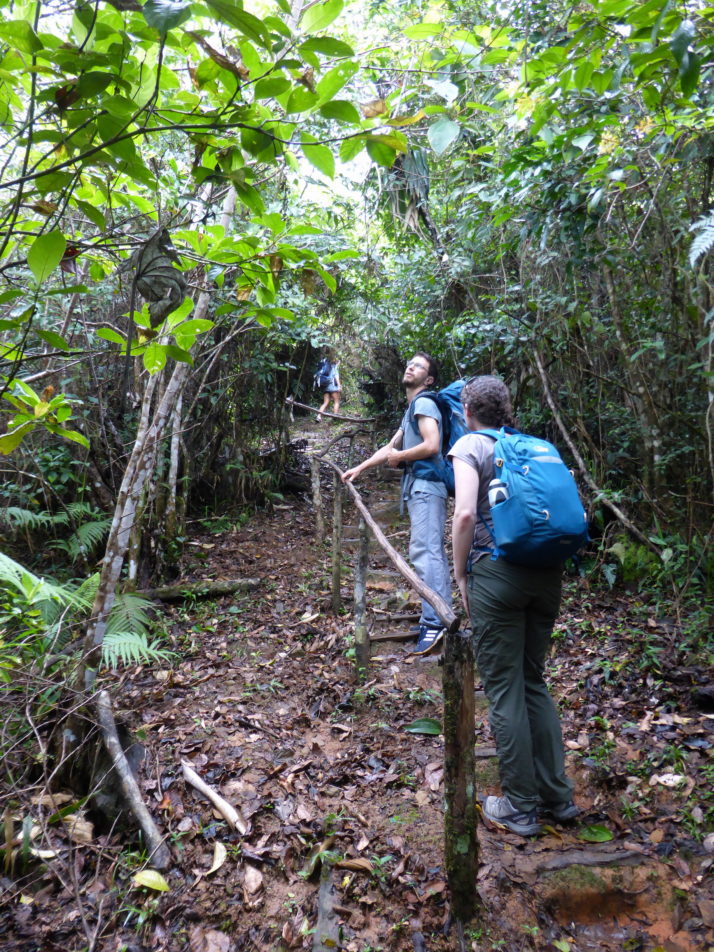
Julie our informal guide and translator

Julie with our informal guide and translator

The forest was lush with orchids, lichen and various reptiles and insects too..
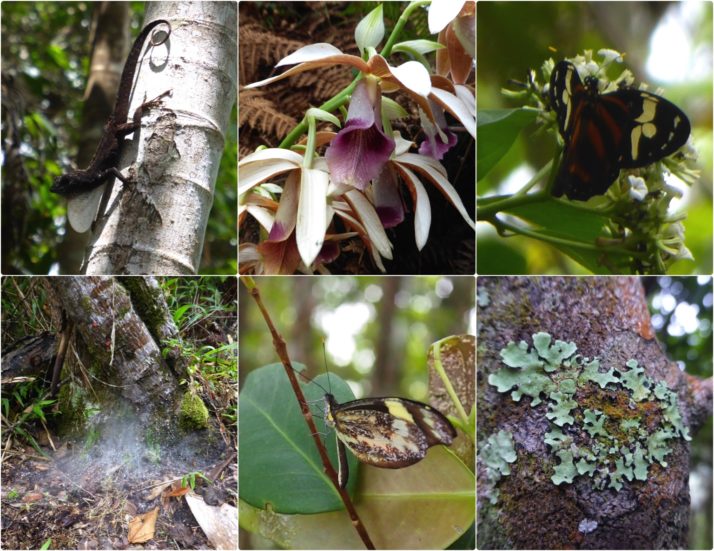
Collage of reptiles, insects and flowers

Some of the flora and insects. Clockwise from top-left: A small lizard shows off its white throat; wild orchids; we didn’t see many butterflies; but there was plenty of lichen; another rare sighting of a butterfly; blankets of spider’s webs like piled up snow at the foot of trees. We didn’t see any spiders though!

The final kilometre felt like it was really twice as long to our tired legs, and after a particularly muddy section of the trail we emerged at Camp Joaquin just after 3pm, the welcome sign greeted us with an altitude of 1364m though we’d certainly climbed more than the 414m difference since the start given the up and down terrain. After picking our bunks in the shared bunkhouse I decided to take a very cold bucket shower before we sat down for lunch.
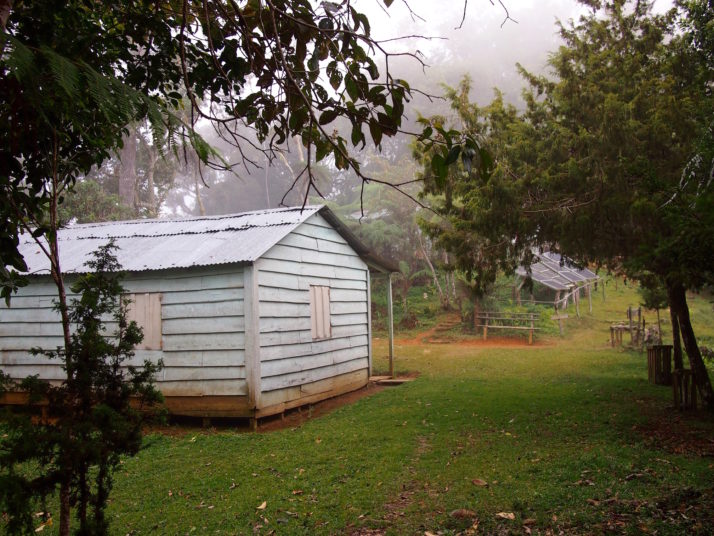
Camp Joaquin (camp Joaquin)

Arriving at Camp Joaquin. The bunkhouse is the building on the left
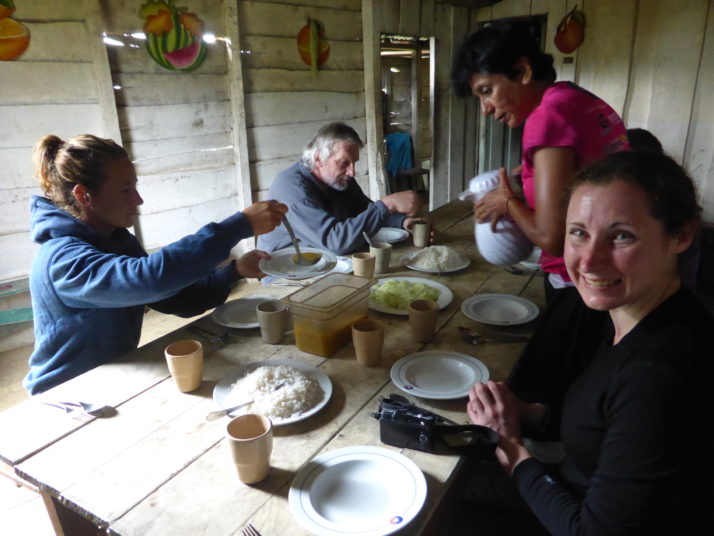
Our group sharing out the well deserved lunch
Our group sharing out the well deserved lunch

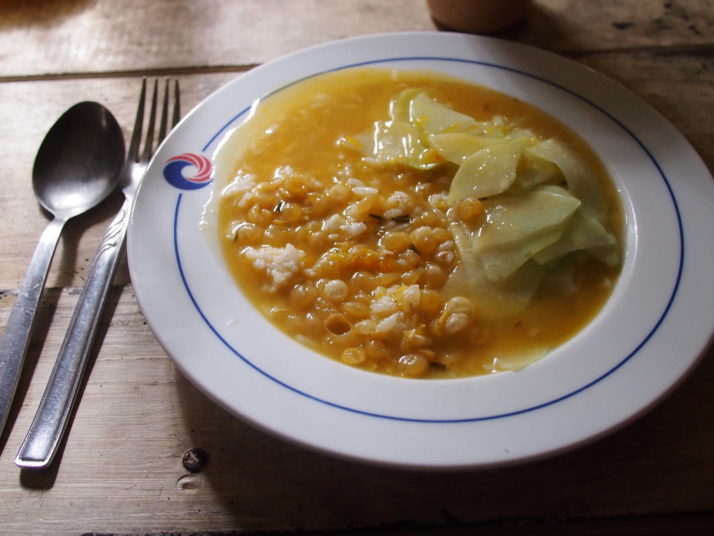
Bowl of plain rice, bean soup and chayote - a vegetable that tastes like a cucumber

Mmmm.. a hot meal of plain rice, bean soup and chayote – a vegetable that tastes like cucumber

Day 2 – Camp Joaquin to Pico Turquino, then down to Santo Domingo

Alarms went off at the unsociable hour of 4:30am, and after a simple breakfast we started the final 5km ascent in the dark. I was the only person without a torch, making do with the auto-focus lamp on my camera which was enough in 2 second bursts for me to get my footing. The start was a long section of muddy stairs with the occasional handrail, and we all found it a heads down challenging start to the day.
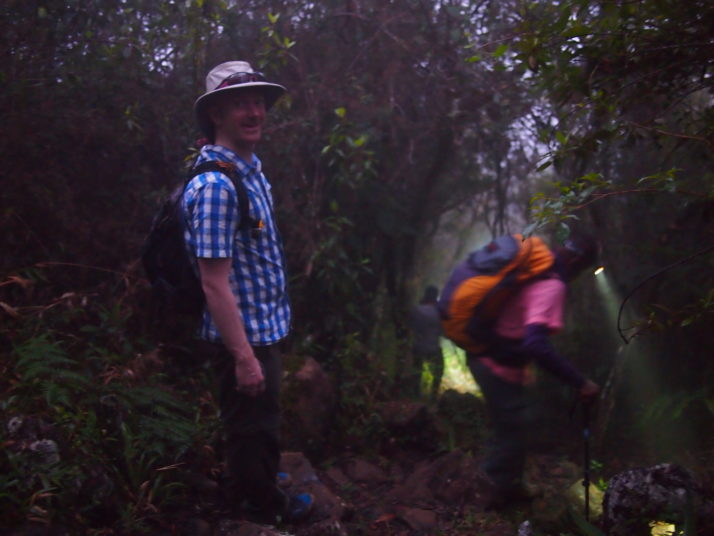
Andrew hiking in the dark

The second day started in the dark, and involved a lot of up and down as we worked our way towards Pico Turquino

As it started getting lighter, we saw that the cloud that had come in the night before was still with us and we wondered if it would clear or be clearer by the time we made it to the top.
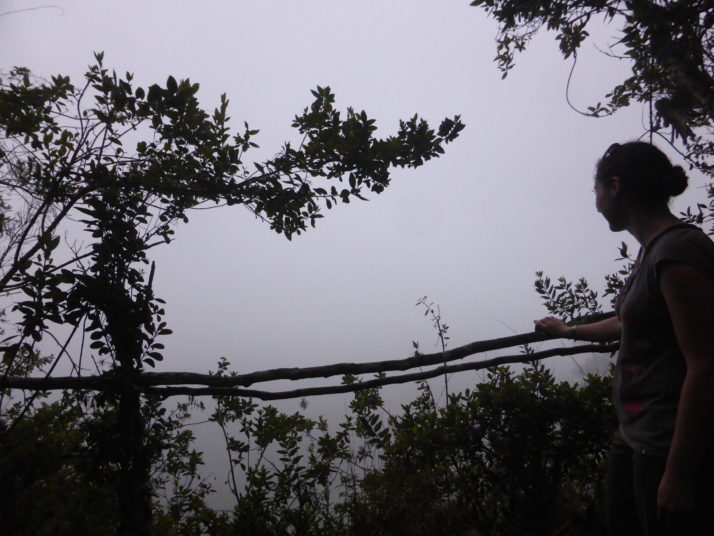
Julie looking from a viewpoint into a whiteout

Mirador means viewpoint in Spanish. Not much of a view past the trees this time!

Raul kept our spirits up with startlingly accurate descriptions of the trail ahead and how long it’d take to reach the next km marker or resting spot. Just before 9am we turned a corner and entered a small, foggy clearing – we’d all made it!
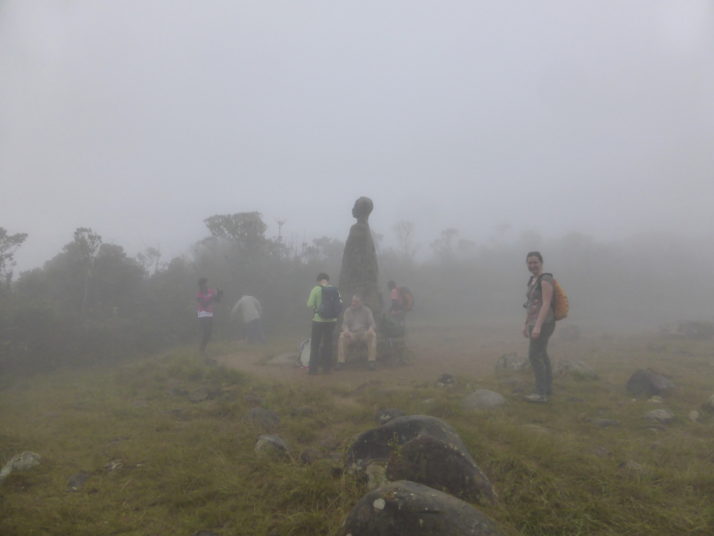
A very cloudy top of Pico Turquino

Made it! The top of Pico Turquino, if you can see it!
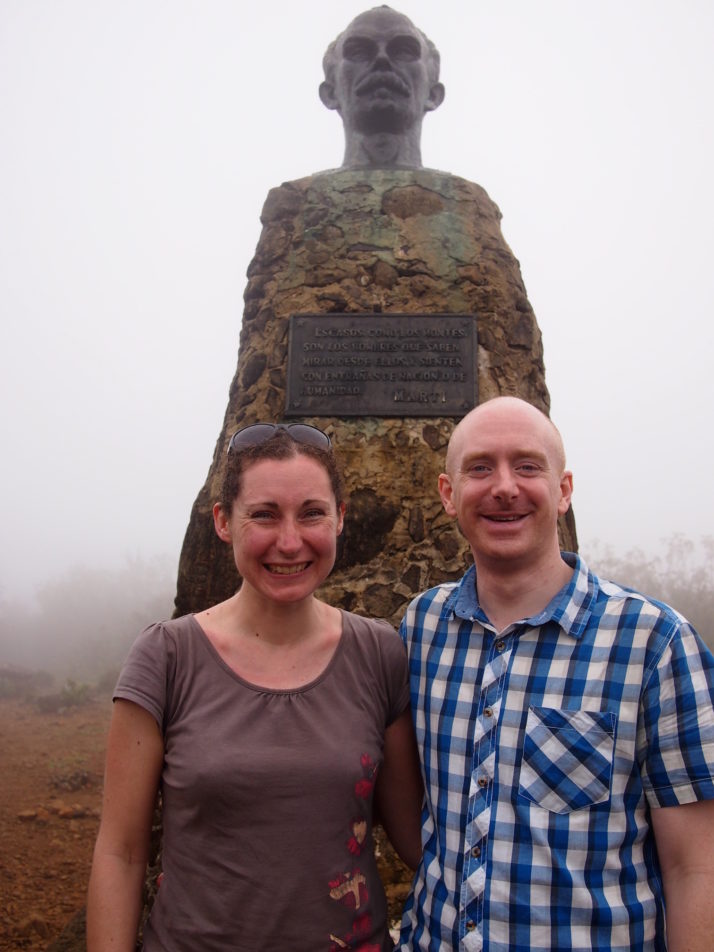
Us with Jose Marti at the top of Pico Turquino

Us with José Martí at the top of Pico Turquino

Everyone shared out the various snacks they’d brought, and we took it in turns to have our photo taken with the giant José Martí that had been hauled up some 63 years prior, before bidding him farewell and starting the 5km descent back to the camp.

As I may have mentioned previously, I much prefer hiking up to hiking down, and I don’t think I was the only one who was starting to feel tired legs and sore knees, but the scenery was new because it was now light enough to see it!
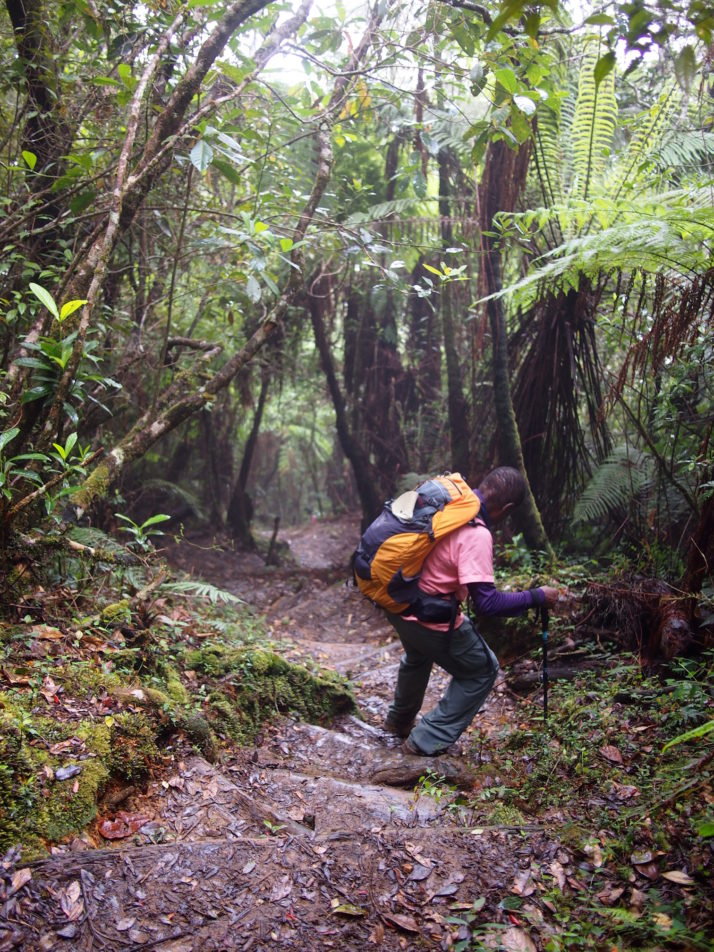
Moremi, Julie and I taking it easy on the descent
Moremi, Julie and I taking it easy on the descent

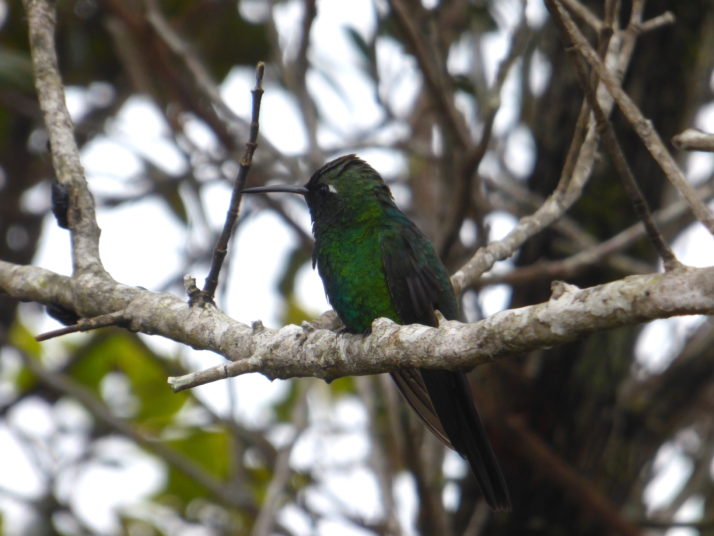
Bright green hummingbird

A hummingbird stopped on a branch next to me to say hello!

Stopping for lunch at the camp was very well received, mostly for the chance to sit down for an hour to rest our legs! Refuelled and re-packed, the only way was to continue the trail down the remaining 8km – it didn’t sound that far considering we’d already done 10km before lunch!
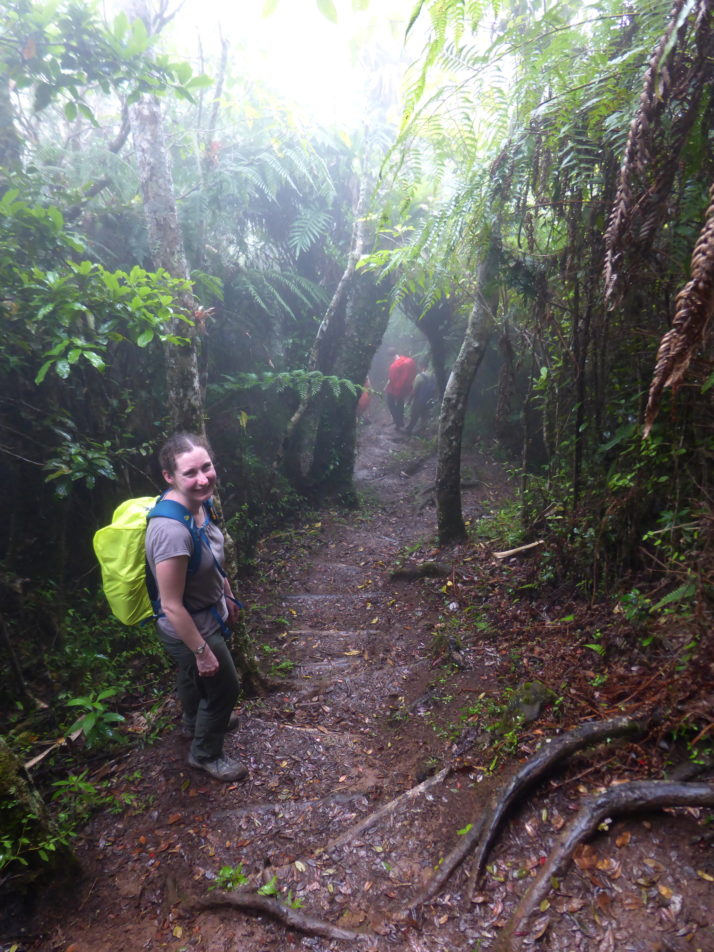
Julie descending in the rain

More downhill – Julie descending with a smile on her face despite the rain
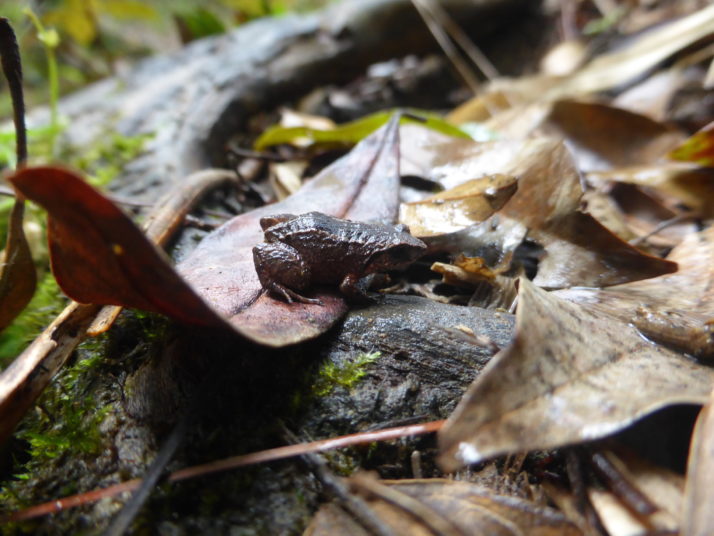
Tiny frog

We’d heard about these tiny little frogs and then heard them the previous night – a chorus of clicking that sounds like a thousand pens being tapped on a wooden desk
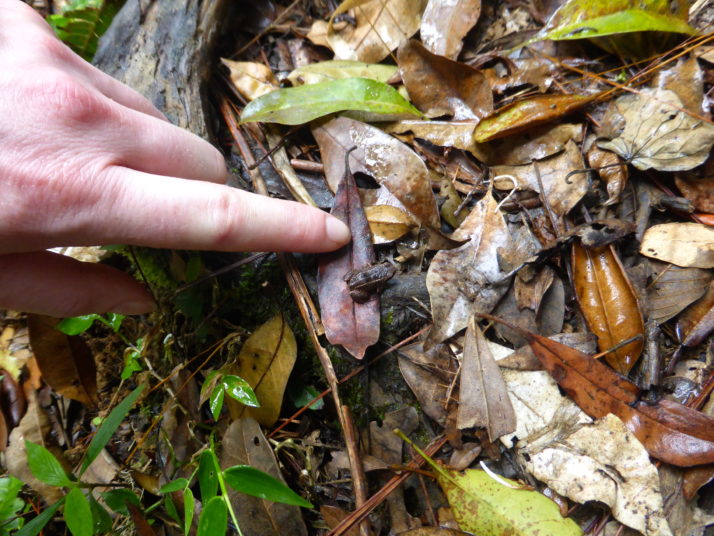
Tiny frog with finger for scale

No wonder we couldn’t see them at night, they’re black and tiny!

With about a kilometre or so before the end the misty fog turned to rain. Everyone bar Julie and I donned their waterproofs – we’d left ours behind as we’d tried to pack light, figuring that we’d just get wet – and we got very wet indeed! So wet that we thought the 4WD wouldn’t take us back but they weren’t the least bit concerned!
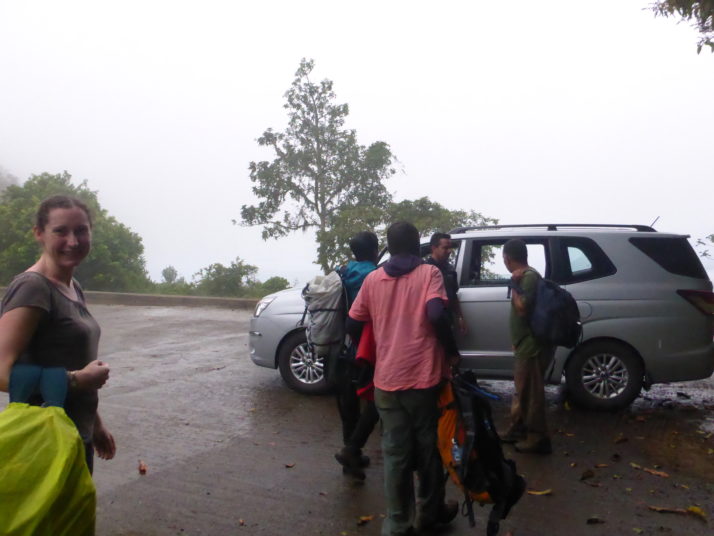
Getting into the jeep at the end of day 2

Look at the relief! The final stretch of hiking in the rain wasn’t the most pleasant bit – we can’t wait to get into the jeep for a soft-seated sit down having hiked 18km!

Pico Turquino is a beautiful and challenging hike. We saw some colourful wildlife and met some adventurous people though we were all a little disappointed that the weather wasn’t better on the second day.

Day 3 – Comandancia de la Plata

We awoke from our deep restorative slumber to the sound of cockerels. Our legs felt like they’d pretty-much recovered though the soles of our feet were still a little sore and our shoes hadn’t completely dried out from yesterday’s drenching.

Our lovely hostess at Casa Arcadia made sure we were suitably fortified for another day of hiking with a typically huge Cuban breakfast and we made our way to the now familiar park entrance for the much more civilised start time of 8:30am. There was a shorter wait for the 4WD this time and a much smaller group too – just two others; an older couple from Germany and our guide Rogelio who we’d met on the hike down yesterday afternoon.
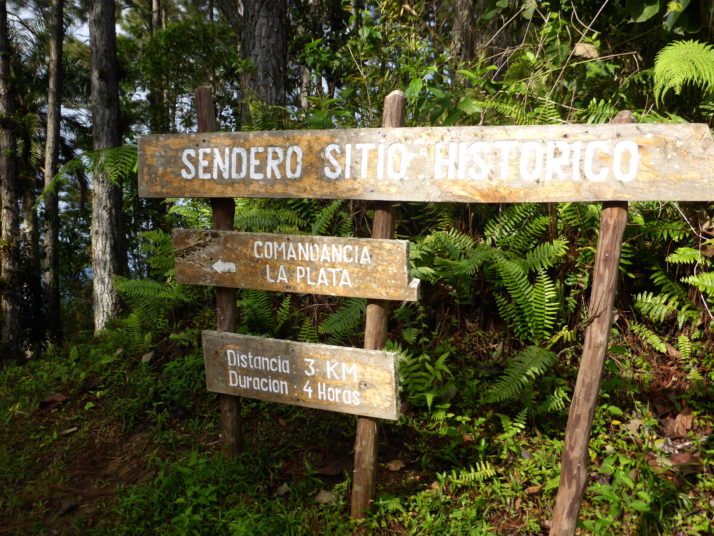
The start of the Comandancia de la Plata. 3km? After Pico Turquino that should be a doddle!

The start of the Comandancia de la Plata. 3km? After Pico Turquino that should be a doddle!

It’s a much easier hike than Pico Turquino, though the first few downhill steps were enough to remind our legs of yesterday’s soreness! We didn’t spot as much wildlife, and the route soon took us through an old farm. Today, the people who live here maintain the historic site rather than farm the land, but when Fidel and his Los Barbudos (‘the bearded ones’) regrouped and set up camp here, their support in food and silence was vital to the Revolution’s success. In return, the farmers received education and medical treatment.
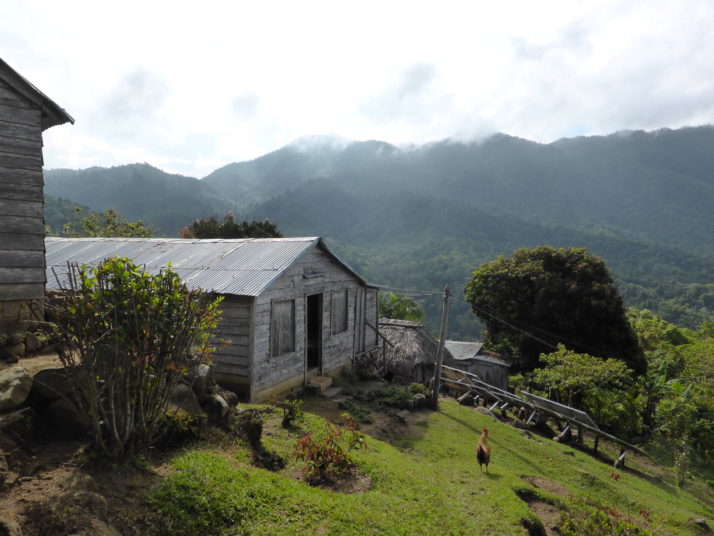
Farm buildings

An old farm en-route to the Comandancia, now a base for maintenance workers

Just past the farm and up a short but steep section of trail we arrived at one of the checkpoints that encircle the Comandancia. These simple straw huts were used to control access to the camp. Of the few visitors, most weren’t allowed past them, their messages and supplies were relayed to keep the size and location of the actual campsite a secret. It worked too, Batista’s troops and reconnaissance aeroplanes never found it.
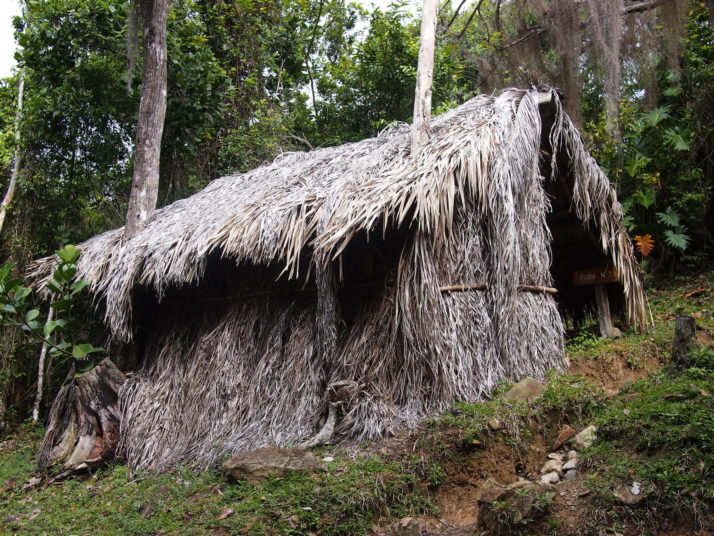
Straw hut checkpoint

Checkpoint #1 – this is as close to the camp as most people would get. Messages and supplies would be relayed from here

Just past the checkpoint, the forest and the sky opened up, welcoming us..
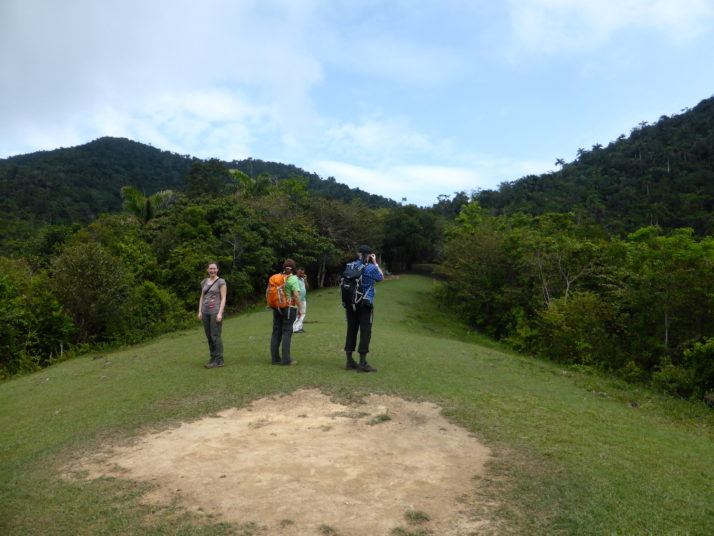
Arriving at the Comandancia

Just up the hill from the checkpoint. Incidentally, the hole in the foreground used to be a tree! It was taken down so Fidel’s helicopter could land when he visited on the 50th anniversary of the Revolution

The camp itself is pretty big, at its height it supported 300 troops and is spread out along both sides of the valley. The first building we came to was originally a meeting hall and hospital and is now a sort of visitor’s centre with maps, photos, copies of communications from Fidel and memorabilia such as a sewing machine and medical supplies. Julie did a fantastic job of translating the description of the camp as the centre’s attendant pointed out each building’s purpose in a model of the valley.
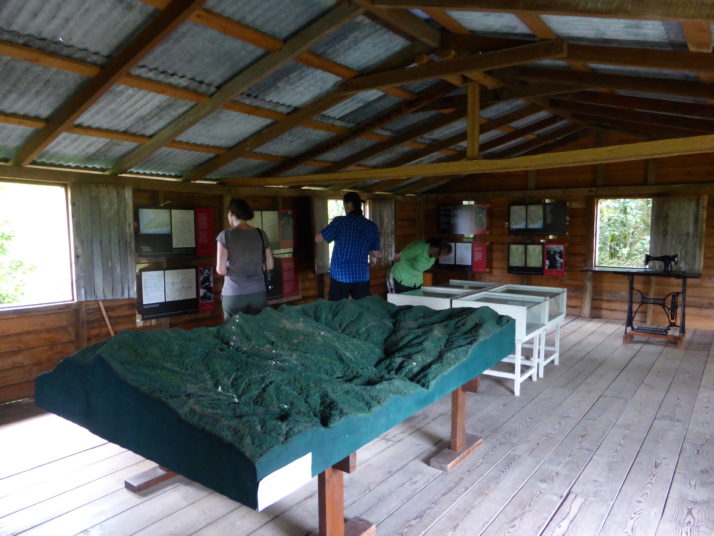
Inside the former meeting hall and hospital

The former meeting hall and hospital is now a visitor’s centre and museum

Rogelio then took us deeper into the camp, further than any visitors would have gone as it was explained that if they were allowed through the checkpoint then they’d be met at the meeting hall, where they only had sight of one or two other buildings and so couldn’t gauge the camp’s size. A little further into the camp we passed a signpost that read ‘Radio Rebelde’ (Rebel Radio) which pointed to a nearby peak where the rebels would raise an antennae and broadcast propaganda for a few hours every night.
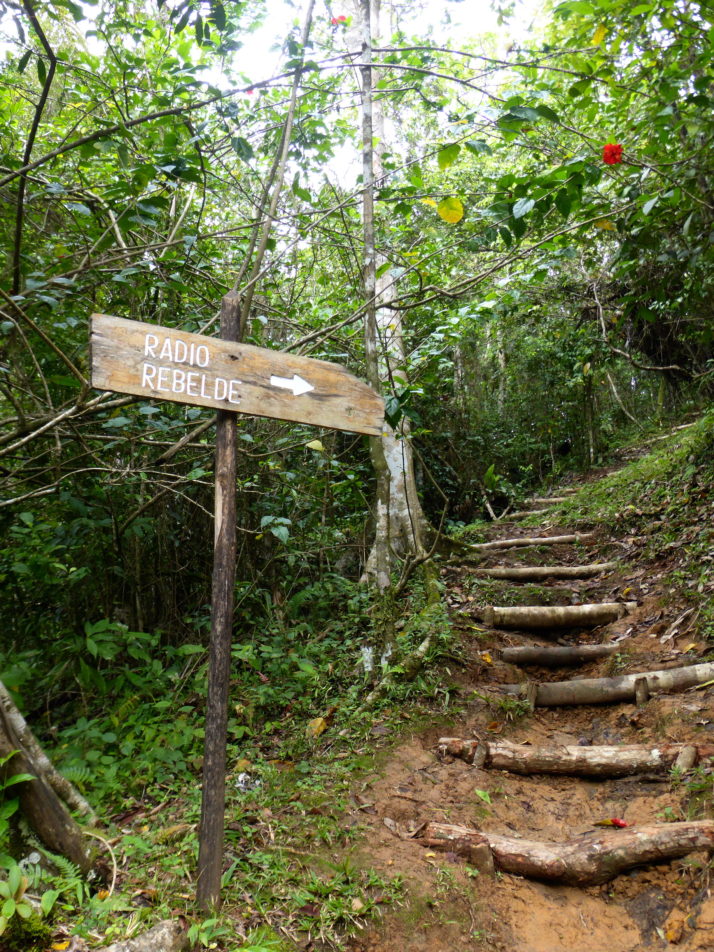
Path to Radio Rebelde

The path to the peak where the Rebel Radio was broadcast

The next buildings on the trail were the storehouse, ‘cocina’ or kitchen come dining hall, and then down a narrow path and round the back of a small hill we arrived at the highlight of the Comandancia – the very well hidden Casa Fidel.
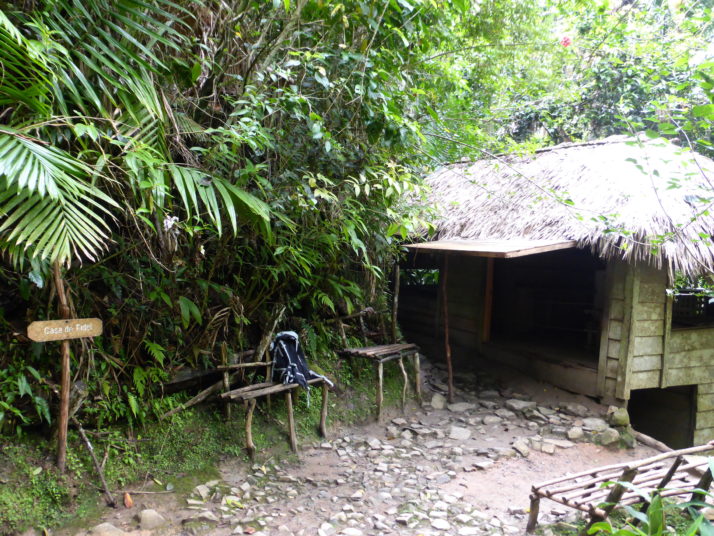
Casa Fidel, Fidel Castro's house in the mountains

Fidel’s 3-room forest abode. Dropping in unannounced, there was always the risk he wouldn’t be in
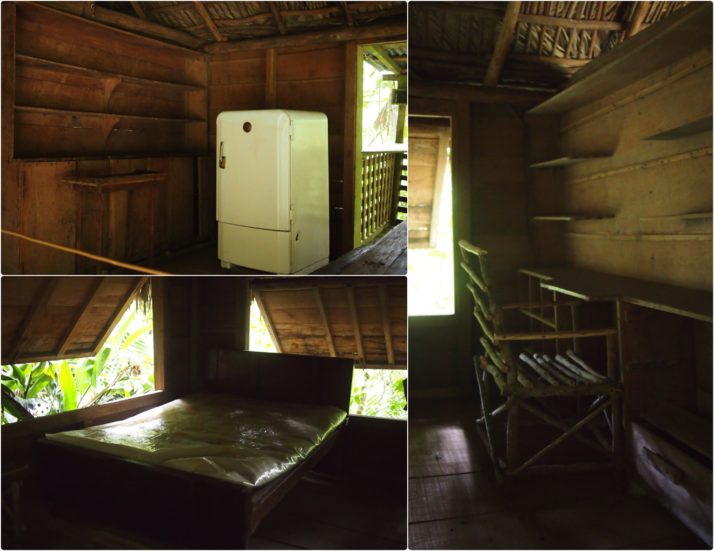
Collage of the inside of Casa Fidel

Inside Casa Fidel: the main or entrance room has a kerosene powered fridge which was used for medicines; the bedroom which doubles as an office with a writing desk

We’d read that there were 7 different exits or escape routes from Fidel’s house and it was fun walking round it to try and find them all.
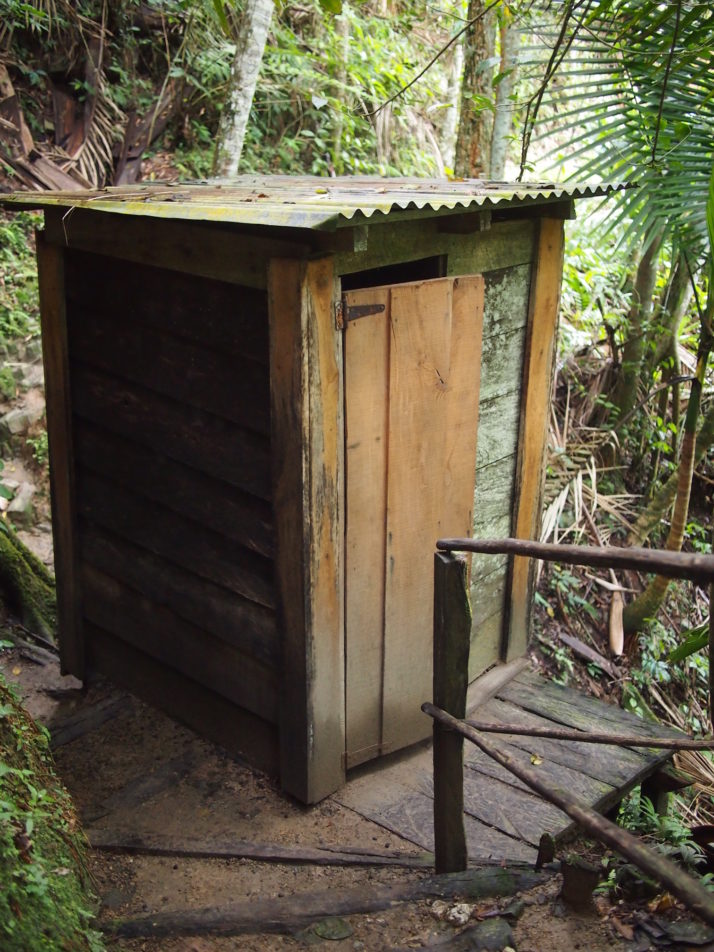
Casa Fidel's outside loo

Fidel even had his own private outside toilet

Just past Casa Fidel was a 2-storey building used as a library and documents storage which was being re-constructed to the same design, simply because being made of wood it had deteriorated after 55 years.
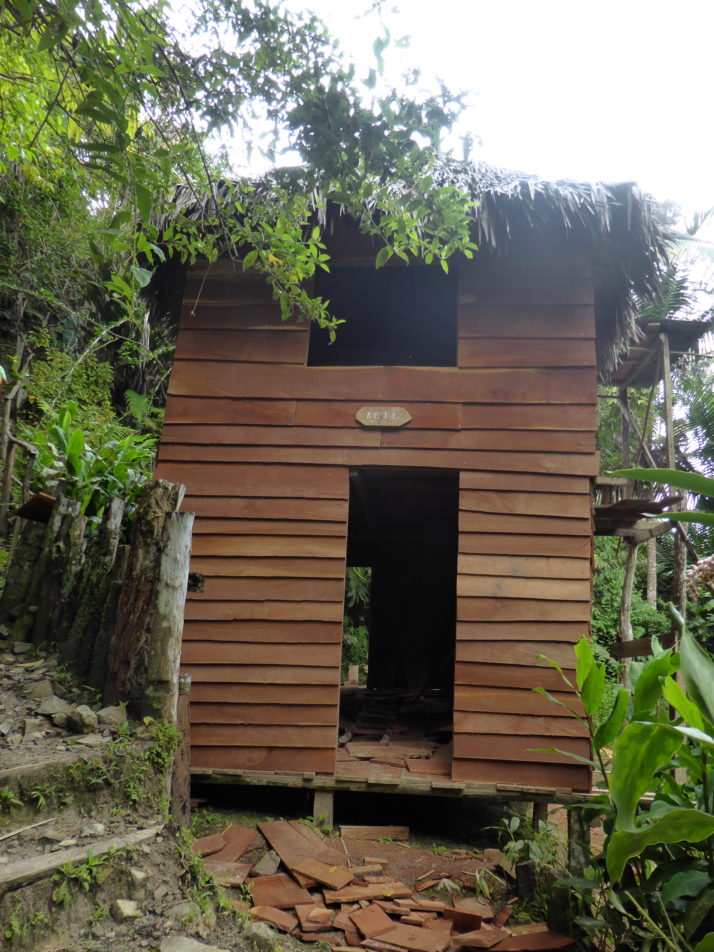
2 storey archive building

The 2 storey archive building was being restored

We continued around the small hill and came out back at the kitchen. From there our guide was quite keen to get us back to the starting point as soon as possible as he suspected it might rain again. We passed a couple of groups heading to the Comandancia on our way back along the trail, and no sooner had we jumped into the 4WD than it did indeed start chucking it down!
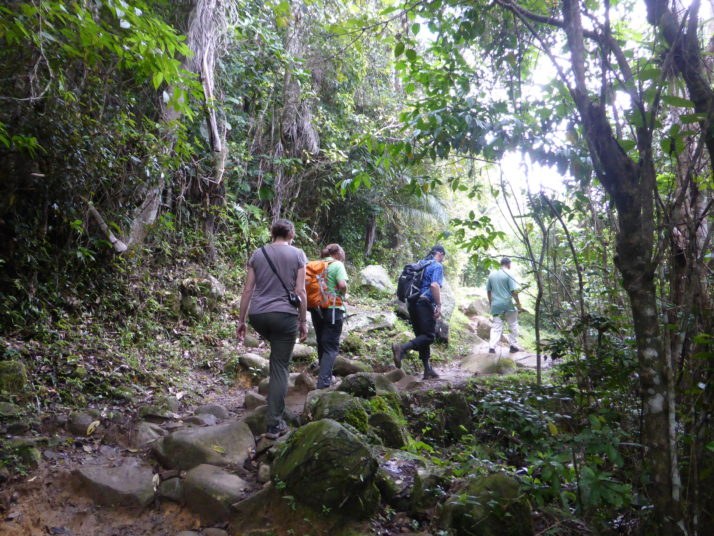
Hiking back from the Comandancia

Hiking back from the Comandancia at a pace to avoid the impending rain showers

We really enjoyed the entire Comandancia de la Plata. It’s a very different experience to the Pico Turquino hike as it’s nowhere near as physically challenging even though they’re in the same region and start from the same place. Although we only got to see inside 6 of the many buildings that make up the camp, the significance is not the buildings themselves, but that the Cuban Revolution was planned and orchestrated from these simple wooden huts.

Cities of Cuba

We’ve just returned from a 6 week long self-organised trip around Cuba. We’ll cover our thoughts about the country as a whole and pick out our highlights in subsequent posts, but for now, here’s our take on the cities and towns we visited:

Holguín

Good for: Classic car spotting

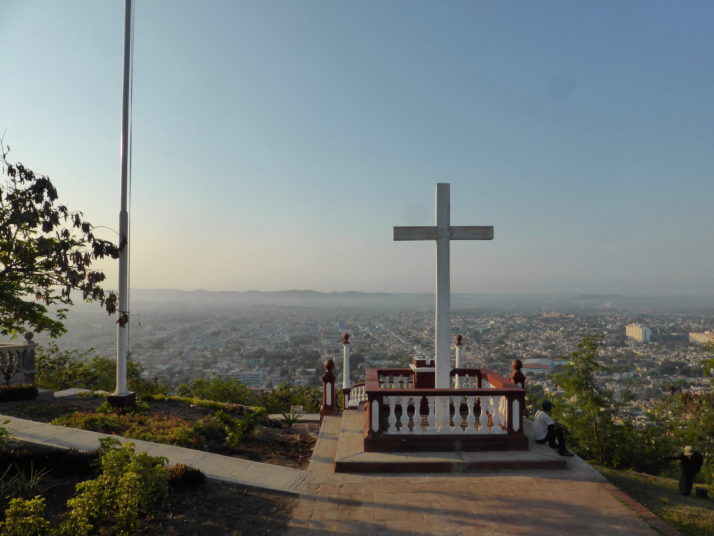
La Loma de la Cruz, Holguín

La Loma de la Cruz, Holguín

Holguín was our arrival city, direct from Manchester with Thomas Cook (flights only). It’s a flat, easily walkable and navigable city with a renovated square, long pedestrian walking street, nice viewpoint and a disproportionately high number of classic American cars.
Holguín was the only place we’d pre-booked accommodation for from the UK, as we’d read that casa particular owners can help with onward travel plans, and I don’t know if our experience is common but it felt like we struck gold by staying at Casa Oscar. He stayed up past 10pm (twice) calling casas the length of Cuba to reserve our beds! He cooks a mean fish dinner too..

Bayamo

Good for: Arts and street performances

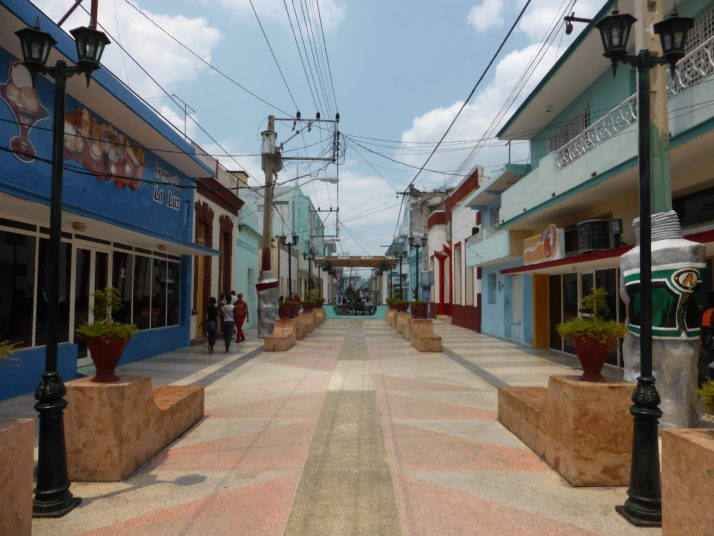
General Garcia (Paseo Bayamés), Bayamo

General Garcia (Paseo Bayamés), Bayamo

Bayamo has a quiet, small-town, artisitic vibe. We arrived in the midst of a literary festival and we left with the feeling that cultural events are de rigueur. We hiked Pico Turquino in the Sierra Maestra, the highest point in Cuba, and Bayamo is the closest base to the park’s main entrance.

Santiago de Cuba

Good for: History and José Martí’s mausoleum

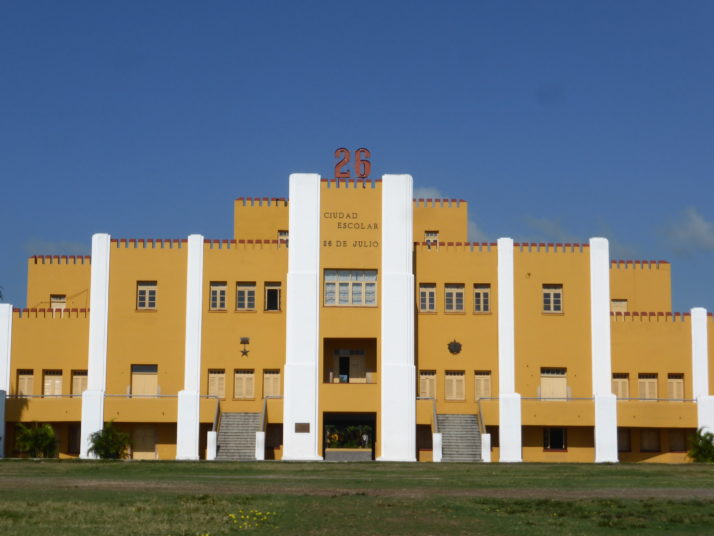
Moncada Barracks, Santiago de Cuba

Moncada Barracks, Santiago de Cuba

We found a lot to see and do in Santiago, and it’s one of our favourite cities of the trip. The 16th century Castillo del Morro UNESCO fort was bereft of other tourists when we visited, the 19th century Cafetal la Isabelica coffee plantation is another significant UNESCO sight we enjoyed visiting and Fidel’s fledgling revolutionary force attacked the city’s Moncada Barracks, which is now a museum. We also spent a lot of time in Santiago’s impressive Santa Ifigenia cemetery which we think rivals the Necrópolis Cristóbal Colón in Havana.

Baracoa

Good for: Laid-backness (yes, even more so than the rest of Cuba!)

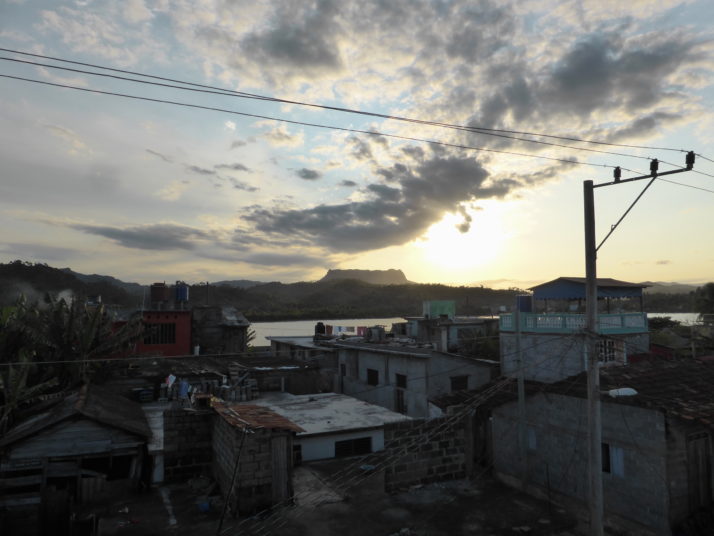
View of El Yunque (the Anvil) over the rooftops of Baracoa

View of El Yunque (the Anvil) over the rooftops of Baracoa

At the far eastern end of Cuba is the small, sleepy town of Baracoa where we found an even more relaxed pace to the rest of Cuba. We did a little more hiking in the unique environment of Parque Nacional Alejandro de Humboldt, spent an afternoon chilling at the beach and ate a lot of the coconut-based sauce that Baracoa is known for!

Camagüey

Good for: Plazas, market and churches

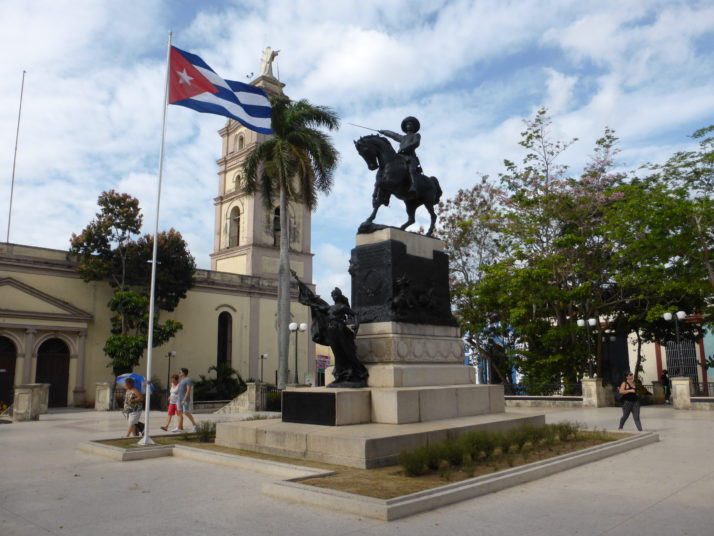
Parque Ignacio Agramonte, Camagüey

Parque Ignacio Agramonte, Camagüey

We loved wandering the twisty, winding streets between the parks and plazas, a layout which is unique to Camagüey and was designed to thwart looting pirates, admiring the many churches and restored buildings, and of course we had to visit the huge outdoor market where we scored some free cake!

Santa Clara

Good for: The Che Checklist

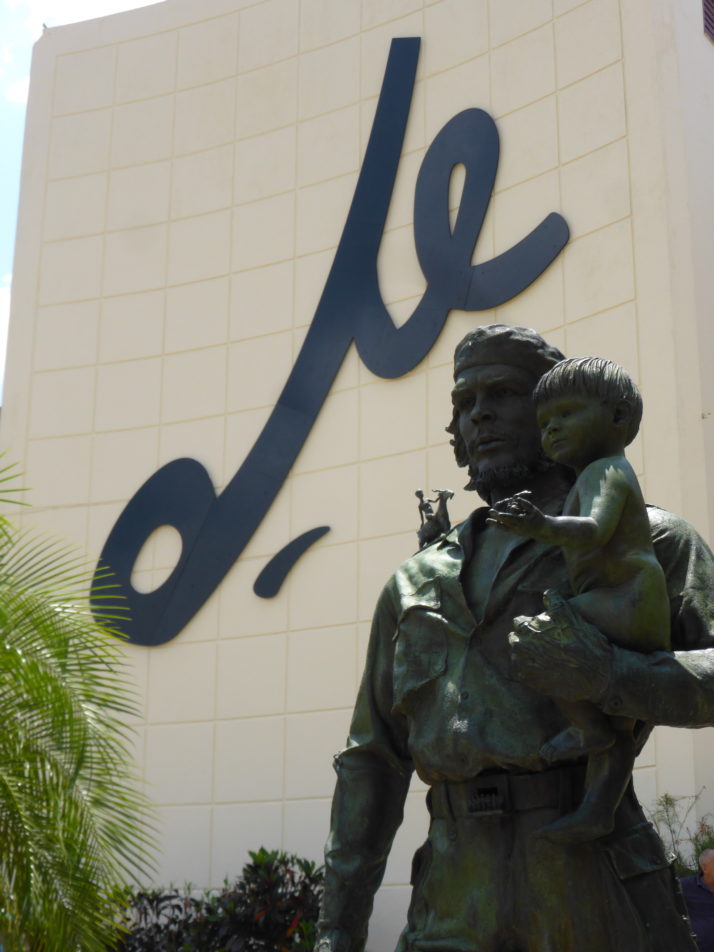
Che y Niño, Santa Clara

Che y Niño, Santa Clara

For us there’s really only one reason to visit Santa Clara, and that was to get our fill of all things Ernesto ‘Che’ Guevara. His mausoleum has an excellent museum and we also enjoyed the details in the life-sized statue of Che y Niño on the other side of the city. Even walking between all the sights, we had time to spare so we think at day at most is all we’d recommend in this hassle-heavy city.

Varadero

Good for: Beaches. Yes, they’re as good you’ve heard

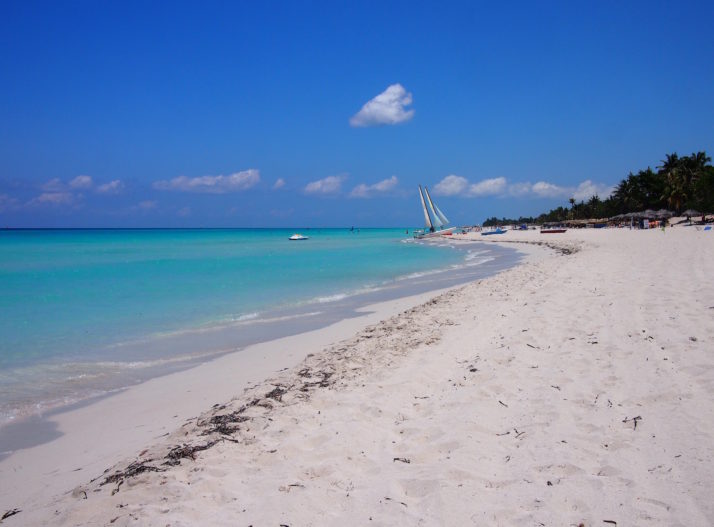
Varadero beach

Varadero beach

A beautiful beach town that doesn’t feel at all like the rest of Cuba – except for the queuing! It’s cleaner, the cars are immaculate and don’t belch black fumes, but the prices are higher as a result of the single-minded tourist focus. But the beaches and that clear, clear, turquoise water..

Matanzas

Good for: Faded grandeur

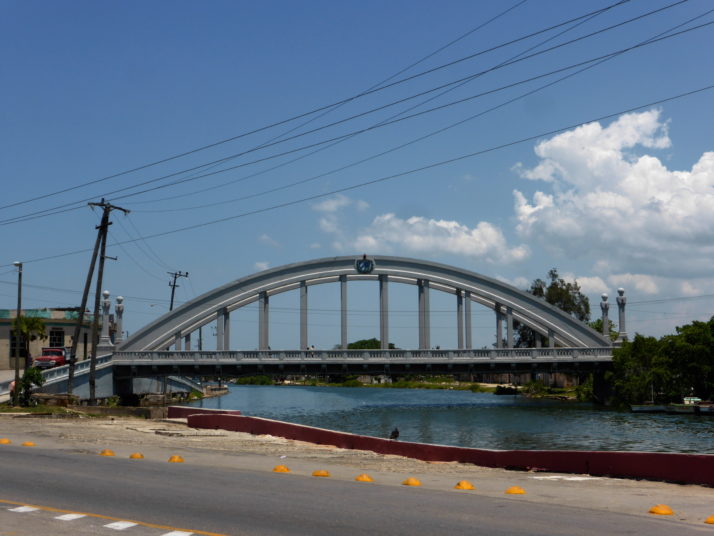
Puente Sánchez Figueras, Matanzas

Puente Sánchez Figueras, Matanzas

Known as the city of bridges, Matanzas was just what we needed after a few days in Varadero to gently remind us that we were still in Cuba. A good balance of architecture, history and an excellent pharmacy museum.

Havana

Good for: The Malecón, Habana Vieja’s rejuvenation (Old Town), Cemetery

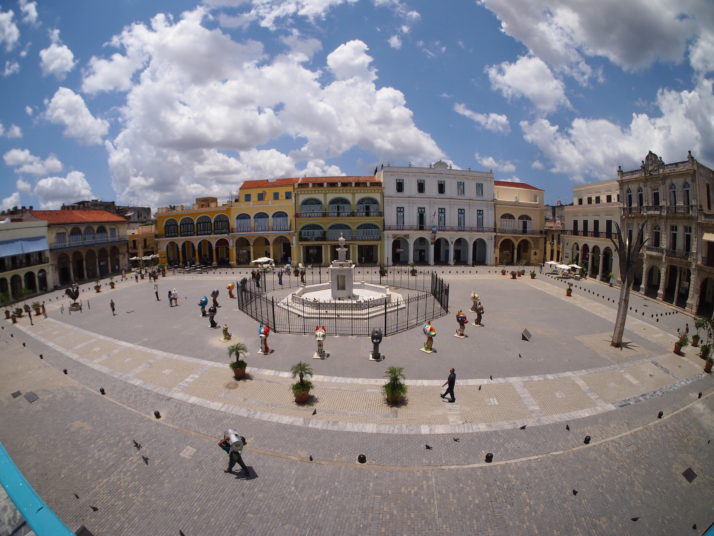
Plaza Vieja, Havana

Plaza Vieja, Havana

We spent nearly two weeks in the capital city of Havana – walking the length of the famous sea-wall Malecón, admiring the astounding restoration work of the City Historian’s office in the old town (and seeing how much work they have ahead of them), taking our time in the best art museum in Cuba, the Necrópolis Cristóbal Colón cemetery, the Hershey Train, and Fusterlandia are just a handful of our favourite experiences.

Viñales

Good for: Tranquil landscapes

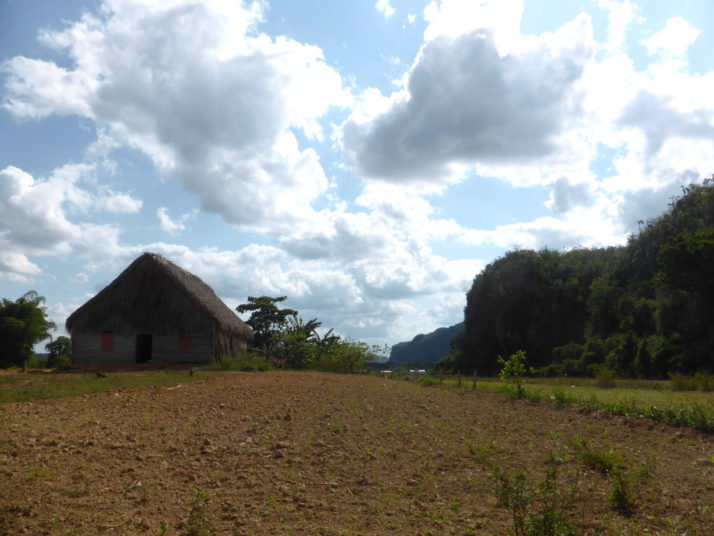
Tobacco drying house and mogote (steep-sided limestone hill), Viñales

Tobacco drying house and mogote (steep-sided limestone hill), Viñales

Our original plan didn’t include the Valle de Viñales as it’s a full day of travel there and back from Havana, but everyone we met who’d been said it was worth it. They were right – strolling and cycling on our own, seeing more farmers than tourists in the lush, mogote strewn, tobacco growing region of Cuba was a tranquil experience we thoroughly enjoyed.

Trindad

Good for: Pretty cobbled streets, restored architecture

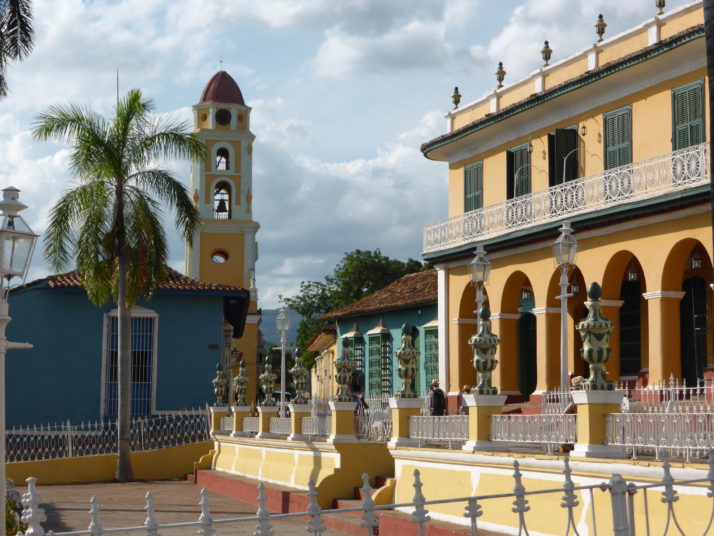
Plaza Mayor, Trinidad

Plaza Mayor, Trinidad

Beautiful, picture-postcard and UNESCO appointed Trinidad is a lot smaller than its reputation implies. We loved the quiet cobbled streets, live music and shows just off the main plaza and venturing into the Valle de los Ingenios to learn about Cuba’s sugar producing past.

Sancti Spíritus

Good for: To see Cubans without tourists

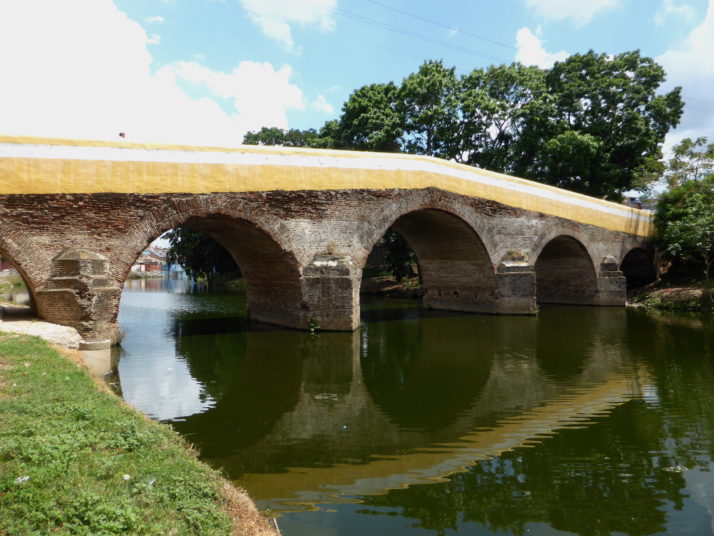
Puente Yayabo, Sancti Spíritus

Puente Yayabo, Sancti Spíritus

Known for its pretty little bridge and the invention of the guayabera – a white, 4-pocketed men’s shirt – our brief pause in Sancti Spíritus was a pleasant relief from the heavily touristed Trinidad to experience Cuba as the Cubans do.

Morón

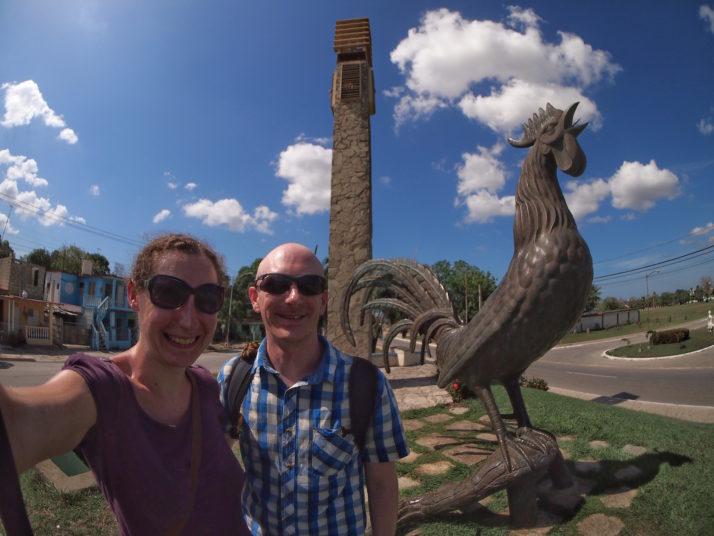
Good for: A giant cockerel that crows at 6am!

Us with the 'Gallo' (cockerel), Morón

Us with the ‘Gallo’ (cockerel), Morón

This rural Cuban town is known as the City of the Cockerel – immortalised by a giant bronze statue that greeted our entrance and crows at 6am every morning. We enjoyed looking around the beautiful old train station too.

G2C2C Day 5: Penrith to Rookhope

Distance cycled 40.1 miles / 64.5 km
Cumulative distance cycled 242.6 miles / 390.4 km
Elevation (daily total) 4922 feet / 1500 m
Total cycling time 4h 10min
Total time (including breaks) 7h 25min
Average speed 9.7 mph / 15.6 kmph
Weather conditions Perfect for hills – overcast and little to no wind
Punctures One

If the word of Day 2 was headwind, then the word of today was hillclimb – anyone we’ve spoken to that has either done the C2C or knows the route mentions the 4mile climb up Hartside.

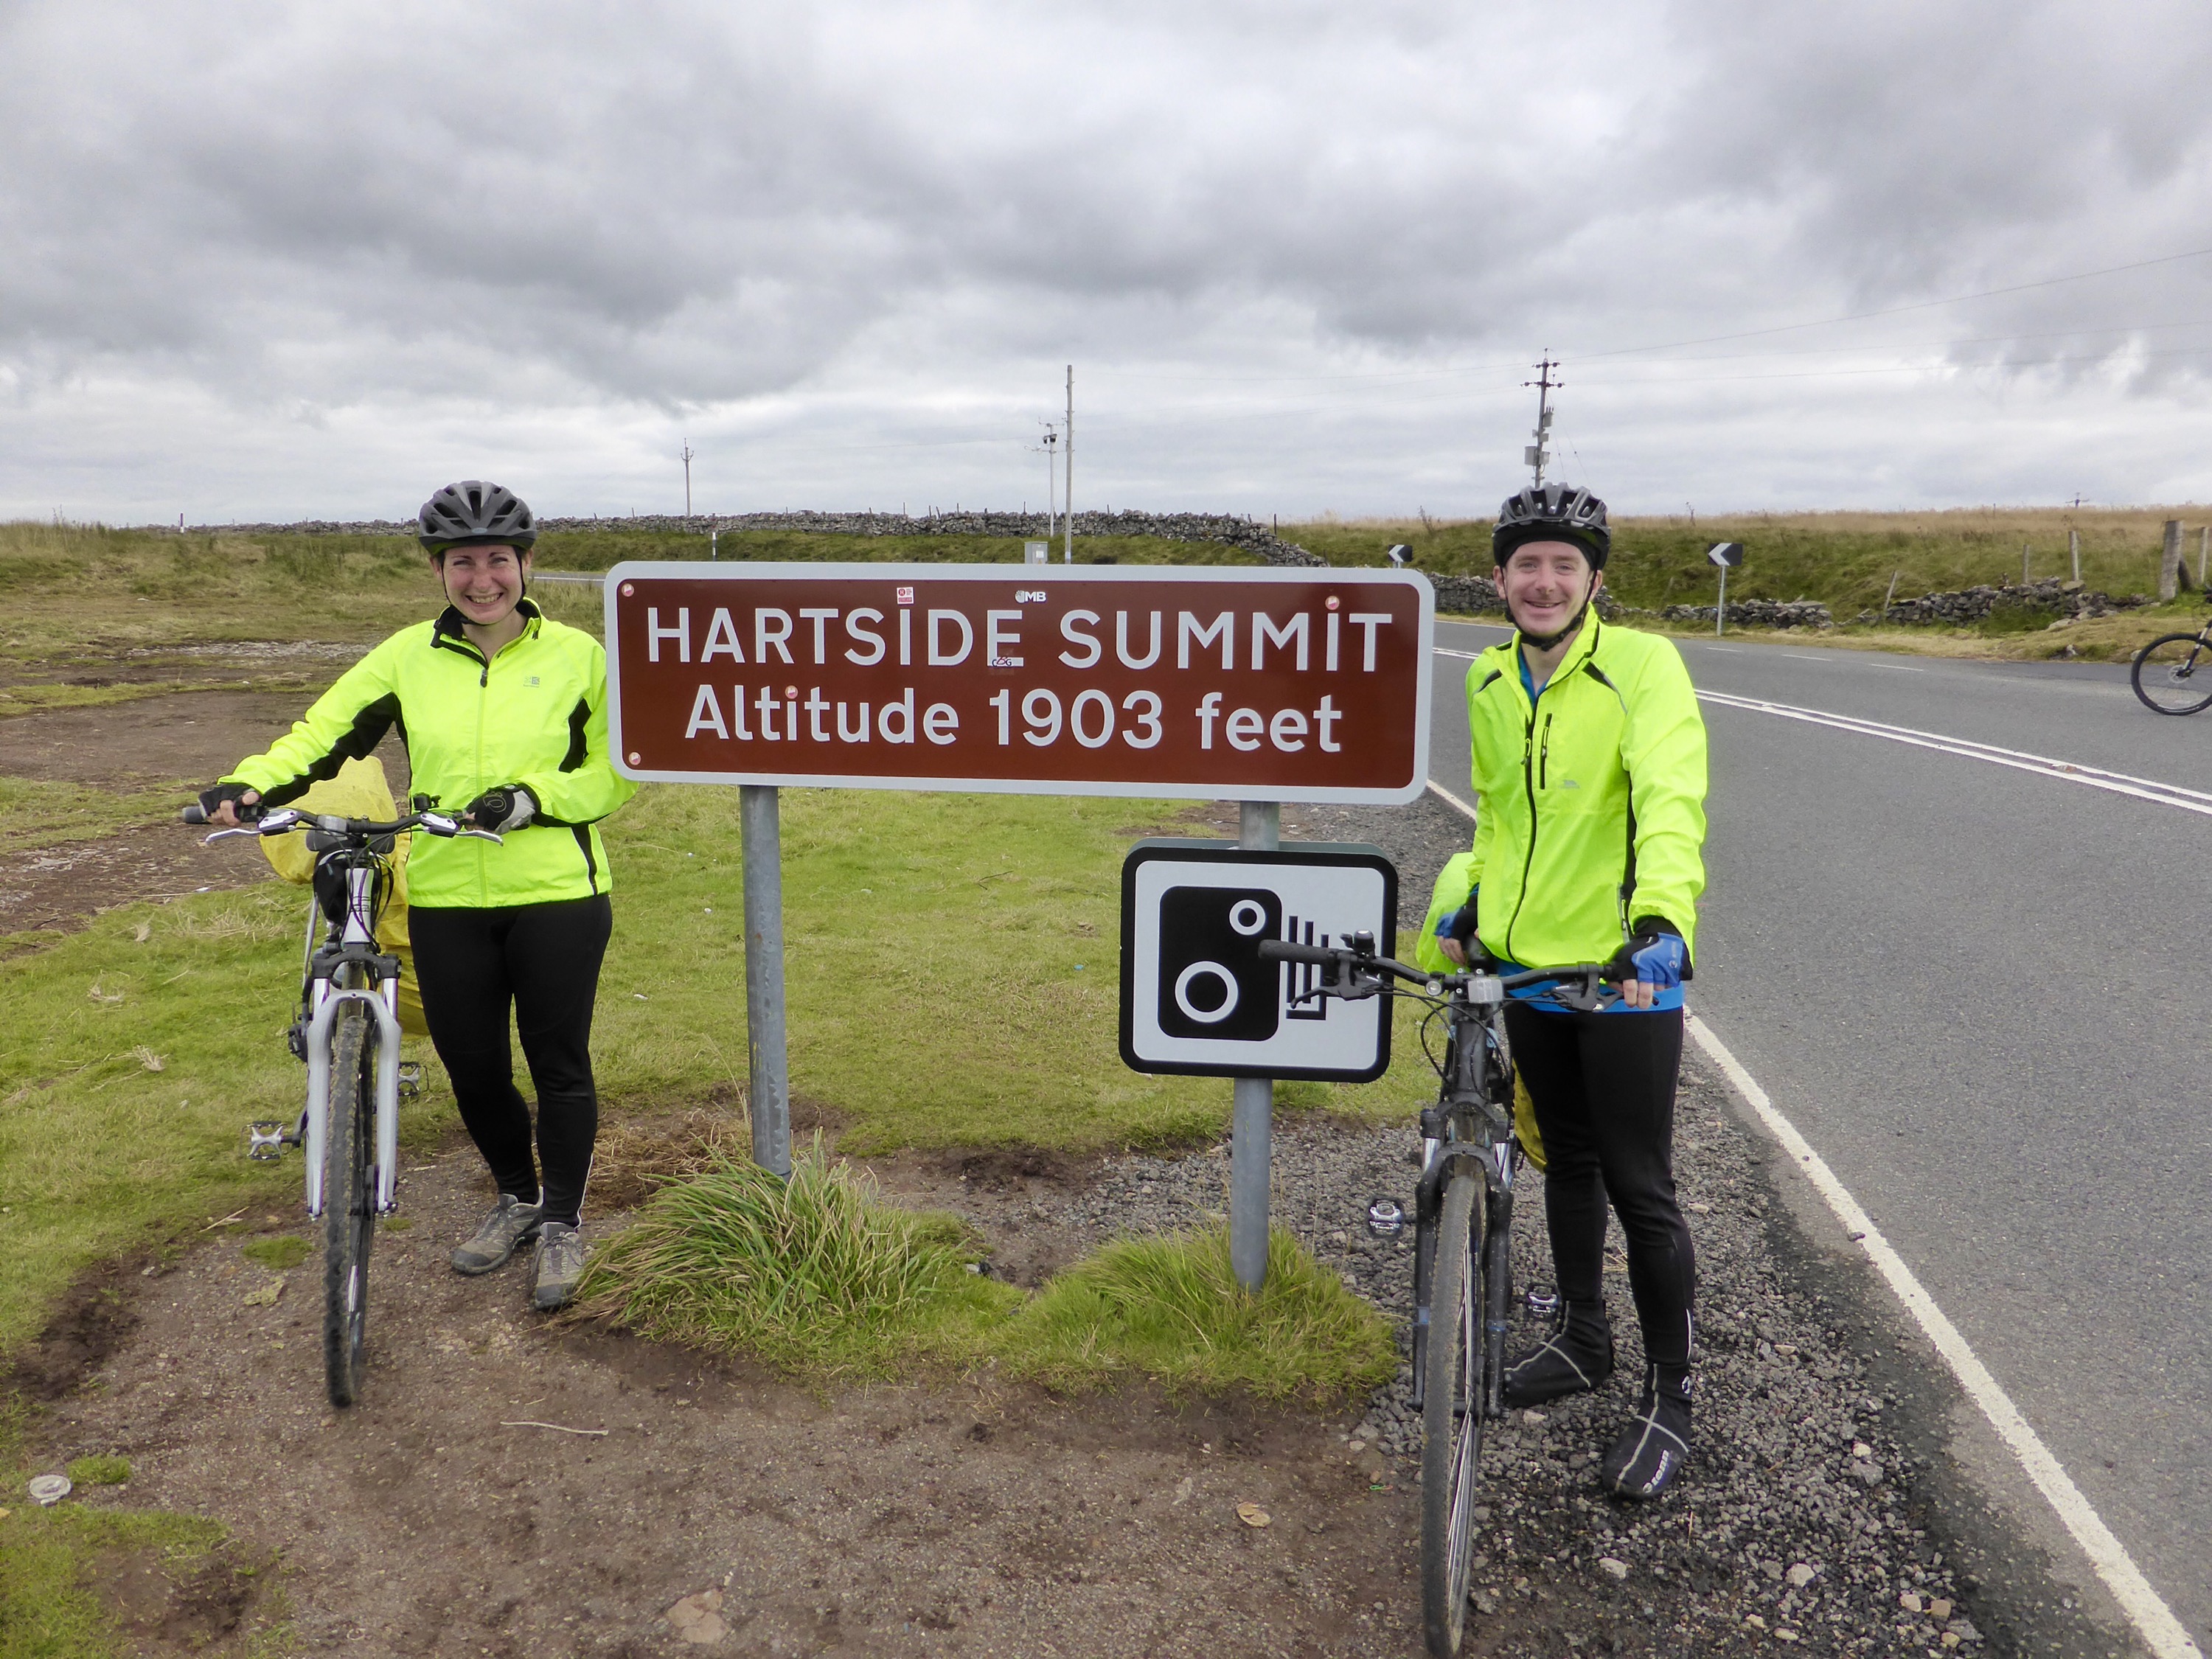
The start from Penrith was a series of small but challenging uphills of varying gradients which nicely warmed the legs, but our heads were full of thoughts of the Hartside climb to come, and a little under 2 hours in we’d started.. 40 odd minutes later we were sitting at the infamous Hartside Cafe wondering what all the fuss was about! I’m not saying Hartside wasn’t tough, but we agreed that Whinlatter Pass the previous day was tougher.

Made it!

After a hot chocolate and slice of cake at the cafe, we set off towards Rookhope. The smooth declining road on the other side of the climb restored our average speed and with spectacular scenery was infinitely more enjoyable than the way up.

But what goes down must come up.

Obviously we’d looked at the profile of the day’s ride, but all eyes were on Hartside with just a cursory mention of the subsequent peaks.. and with our guards lowered the route delivered punishing steep hill after punishing steep hill. We’re talking easiest gear and out of the saddle steep. Like a grownup version of the roller coaster start out of Brampton on day 2, we climbed and then dropped through spectacular scenery.

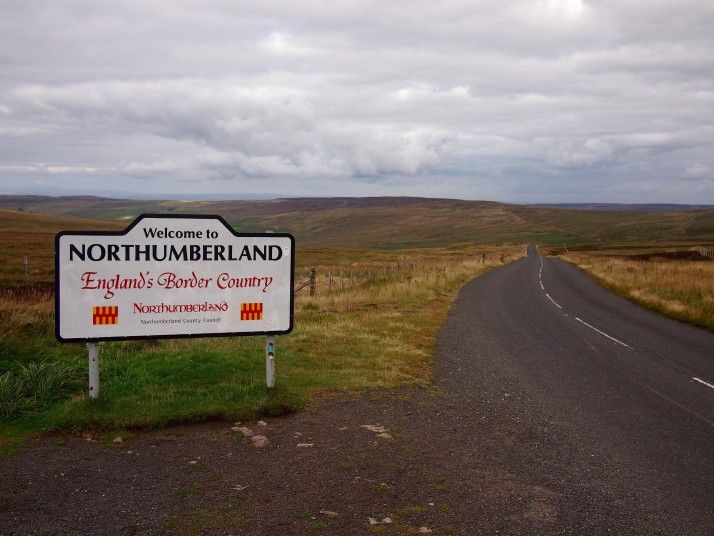
Scenery entering Northumberland on C2C

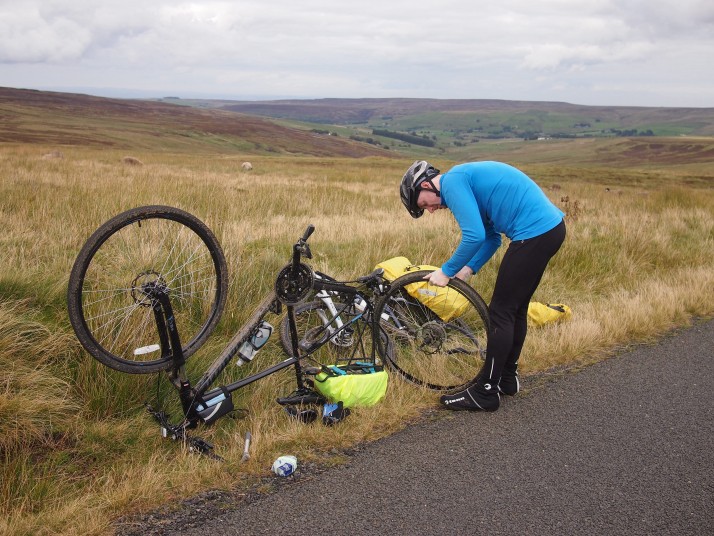
Stopping to take a picture after a crest and after we’d just crossed into Northumberland, I heard a babbling brook on one side and a curious popping noise coming from my back wheel. I looked down to find the seal of my rear tyre valve blowing bubbles! Over 200 miles and we have our first puncture..

Andrew's impromptu bike workshop on the side of the road.  As we'd brought spare inner tubes we just swapped it out rather than finding and patching the hole

Andrew’s impromptu bike workshop on the side of the road. As we’d brought spare inner tubes we just swapped it out rather than finding and patching the hole

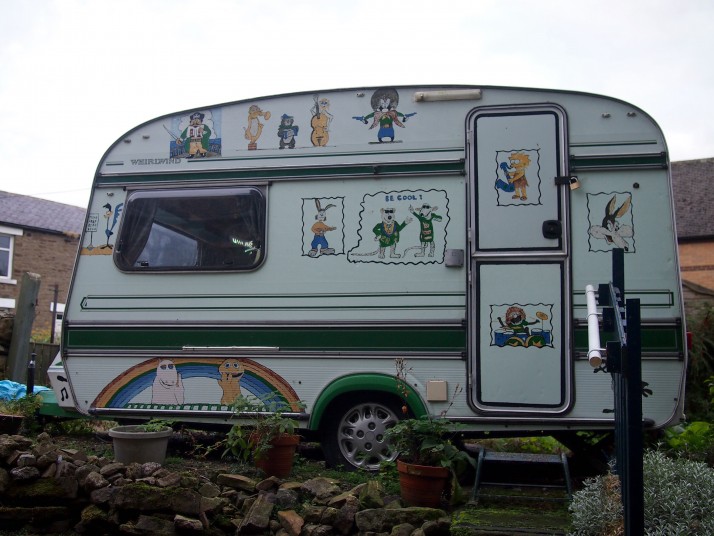
Thankfully we ended the day on a nice 5mile downhill stretch past abandoned mines and mills into Rookhope, where we’ll be staying for the night in a cartoon-decorated caravan!

Our cartoon caravan home in Rookhope!

Our cartoon caravan home in Rookhope!

G2C2C Day 3: Whitehaven Rest Day

This being our first cycling trip, we planned in a rest day at Whitehaven and our legs and posteriors thanked us for our forethought and decision!

Spectacular views of Whitehaven from the Kells. This giant chimney is affectionately known as the Candlestick, and provided ventilation to the coal mines that once reached 15 miles out under the sea. It got its nickname as gasses from the mine would occasionally ignite as they left the top!

After a full English breakfast with all the trimmings, we went for a wander around this lovely port town. In its heyday, Whitehaven was the 2nd largest port in the UK after London, and while most of the coal, ship building and commerce has closed down or moved on, hints of the past glory days are everywhere throughout the harbour and the valley hillsides.

Looking back at what would have been the rear of St Nicholas Church, sadly ravaged by fire in 1971. Only the bell tower and side chapel were left

Looking back at what would have been the rear of St Nicholas Church, sadly ravaged by fire in 1971. Only the bell tower and side chapel are left

On our way to the harbour we stopped at St Nicholas Church which burnt down almost 80 years to the day after it was completed. Parts of the exterior walls and the bell tower are all that remain, and is now home to a small chapel and a nice little tea room. We liked the information leaflet detailing the church’s history, including the building costs right down to 2 shillings and a half-penny!

One of the old lighthouses at the end of the outer pier. It’s a pretty sharp photo considering the buffeting the wind was giving us!

Similar to our arrival yesterday it was a gusty day and we really felt the wind as we walked along the walls of the inner harbour, which because it has a lock between them, it’s possible to walk all the way around!

How to pack for a Two Year Trip

As we mentioned before we set off in our packing dry-run and what do you pack for a two year trip posts, there’s plenty written about what to take on this kind of extended world travel and why to take it. Once you’ve read your fill of those posts and made your kit decisions, here’s a post on how to pack that kit for epic adventures!
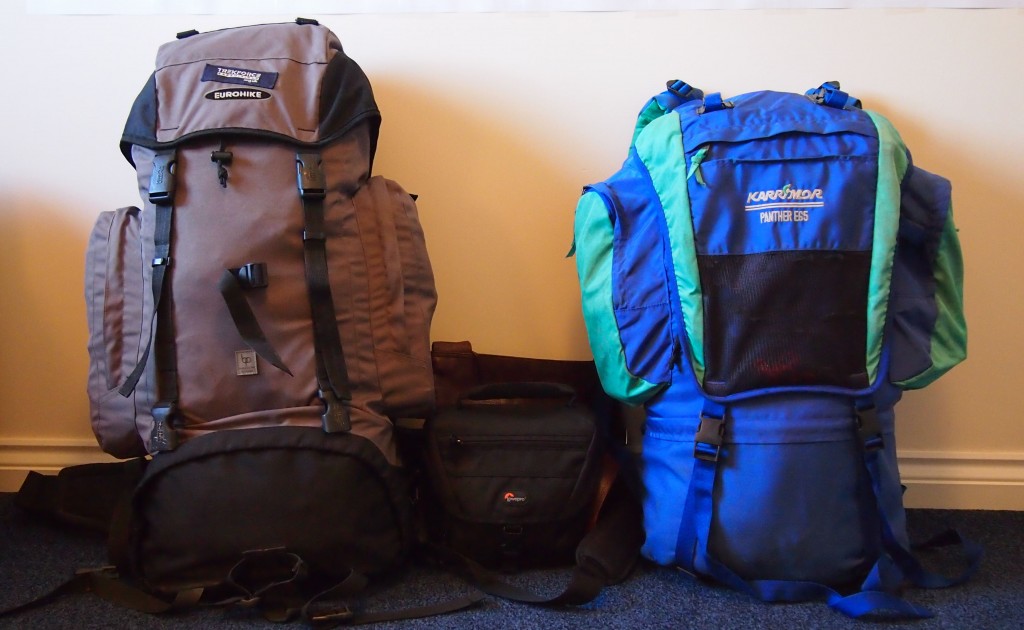
Our large rucksacks with space to spare from our packing dry run 4 months before we set off

Our large rucksacks with space to spare from our packing dry run about 4 months before we set off

We carried two rucksacks each – a small one for valuables and day trips, and a large one for everything else. The smaller rucksacks are great for carrying shopping when we visited markets, and for overnight trips like when we spent a few days in Chiang Rai from our base in Chiang Mai, Thailand, or as an overnight bag when we slept on the caravan sofa bed my brother and family hired in Amsterdam.

First, some general tips on packing rucksacks:

  1. Put everything in separate carrier bags – this is to make the contents waterproof. They want to be no more than ¾ full so the top of the carrier bag can be rolled or folded over. If it’s electrical: cables, batteries, camera memory cards, or made of paper (books, leaflets or entrance tickets) use two – they’re light and take up no extra space.
  2. Put the heavier stuff at the bottom – this will make it easier to lift, easier to carry, and its better for the spine too.
  3. Have a place for everything – it might take a few un-packs and re-packs starting out, but 3 months in we had our systems down to a fine art. The benefits are not just being able to quickly find stuff when we needed it, but we knew we had everything before we left because we got used to the order everything had to be packed in!

How to pack a rucksack

Basic rucksack packing guide

Basic rucksack packing guide. The photo was taken outside the Hostel Hospital in Sabile, Latvia near the start of our trip
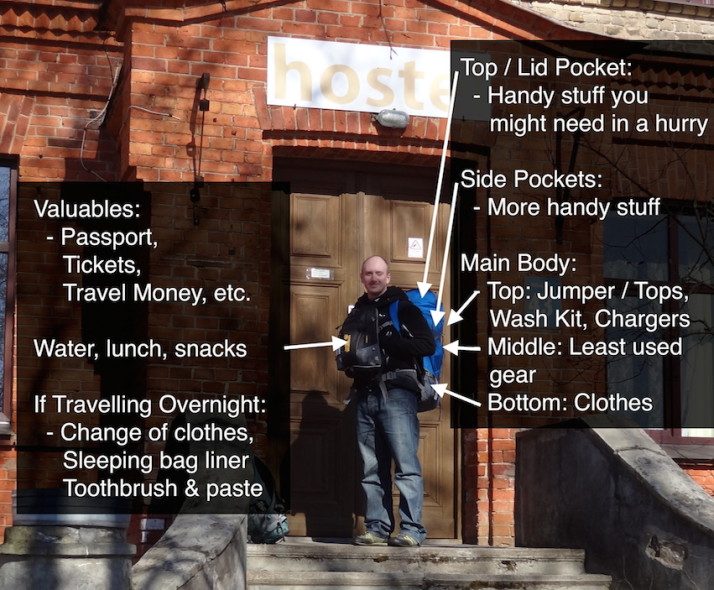
Top Pocket: Handy stuff we might need in a hurry: raincoat, hat, scarf, gloves, toilet roll

Side Pockets: More space for handy stuff! We’d typically put things like mugs, forks and spoons, suncream and mosquito repellant and padlock and chain-lock to deter opportunist thieves in the side pockets.

Starting at the bottom, here’s how we’d pack an empty rucksack..
Bottom: Heavy, bulky stuff at the bottom and towards the back (i.e. closest to the spine when it’s worn): Spare shoes, flip-flops, clothes in separate bags. I bought dry sacks, but carrier bags will do just fine. One bag for underwear, one for trousers, bottoms and swimwear, another for t-shirts and tops, and don’t forget a bag or two for dirty clothes or laundry – I try to find a colourful bag for laundry so it’s easy to spot.
Middle: This is the area hardest to reach as most rucksacks have openings at top and bottom. Here we put things we think we won’t need while we’re moving between places, such as souvenirs or books we’re not currently reading. This is also the place for toiletries. It’s worth having a wash bag (yes, even for the guys!) as it’s so much easier to carry toothbrushes, toothpaste, shower gel, shaving gear and deodorant to shared shower rooms down the hall from hostel rooms if it’s all in one bag. I took a medium-sized LifeVenture washbag which was perfect, but a carrier bag worked just as well on occasion.
Top: Anything we might need first when we arrive at our destination: Charging cables, any food provisions we had left over such as bags of pasta, tea & coffee, stock cubes and seasonings, sweeties, etc.

Side note.. on the pros and cons of rucksack liners:
Julie used a big waterproof rucksack liner, and on the whole would have preferred separate smaller bags for the single reason that invariably the thing you need is at the bottom which means unpacking your entire bag. That said, on the one occasion of our trip where our bags were completely soaked, everything of Julie’s stayed dry and our guidebook, which was in my rucksack but not in a plastic bag, took 4 days to dry out properly!
Given our experiences, we’d avoid rucksack liners in favour of carrier bags and smaller dry sacks because of the convenience. It’s a pain having to completely unpack when in dorms or we’re only staying somewhere for a few nights.

Day sack: On the move..

1 year in, Joypurhat, Bangladesh

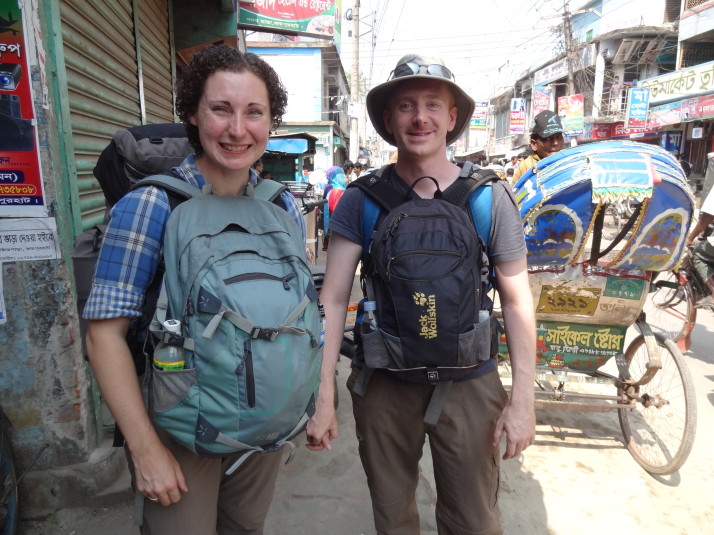
1 year in. 17th March 2014, Joypurhat, Bangladesh – waiting for a bus to Paharpur (photo credit: Roman, a very kind student we met on the train)

When we were moving we’d have a quick think about what we were likely to need and pack that in our smaller rucksack, such as our sleeping bag liners, toothbrush and toothpaste and earplugs if we were on an overnight train. We’d always keep the most important things in our smaller day sacks as they’re much easier to keep with us or close by, and they’re easier to secure with a padlock.

A document wallet is the best place to keep passports, pre-purchased travel tickets, copies of travel insurance, spare SD-cards for digital cameras, emergency cash (in USD), and driving licences. Together with a document wallet each, we’d also carry our sunglasses, digital cameras (and spare camera lenses), iPads and my laptop in our day sacks.

Day sack: Out and about..

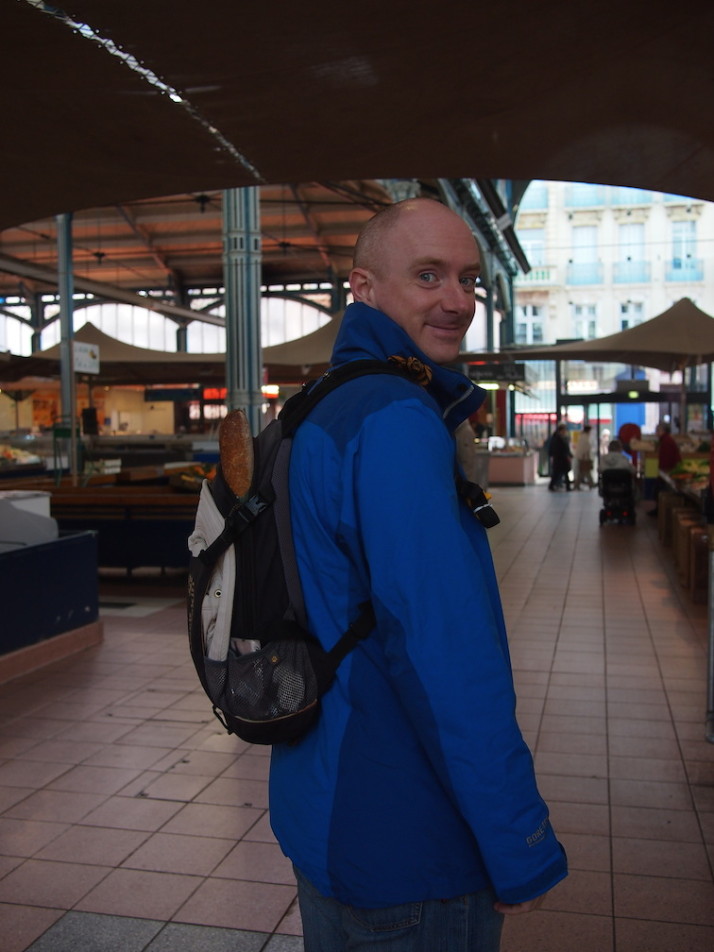
Andrew with a baguette in Dijon, France

The full french experience – carrying a fresh baguette through the markets of Dijon, France

If we were staying in shared accommodation we’d put all of the important stuff in Julie’s larger day-sack and padlock it, then put it in a locker or leave it with the reception in their luggage room. My smaller day sack was perfect for carrying the stuff we needed while we were out sightseeing or heading to the markets.

If you have any packing tips for long-term travel, please share them in the comments!